

This guide explains how to configure a D2L Brightspace LTI 1.3 (LTI Advantage) integration with Apporto NextGen, add the tool to a D2L course, and complete the first launch that provisions the user in Apporto.
Overview
The configuration requires work in two systems:
-
D2L Brightspace (Admin Tools) to register the LTI Advantage tool, create a deployment and link, and register an OAuth 2.0 app for API access
-
Apporto NextGen to create the LTI configuration using the values generated in D2L
Once setup is complete, the integration is authorized, the link is added to a D2L course, and users launch Apporto from within the course. The first launch creates the user in Apporto.
Prerequisites
-
Administrator access to the D2L Brightspace instance
-
Administrator access to the Apporto NextGen environment
-
A publicly reachable Apporto instance URL (D2L does not support
localhostURLs) -
A D2L course available for launch testing (for example, Art 101)
Step 1: Sign in to both platforms
-
Log in to D2L Brightspace using administrator credentials. Example: https://apporto.d2l-partners.brightspace.com/
-
Log in to Apporto NextGen as an administrator. Example:
https://{instancename}.apporto.com
Step 2: Register the LTI Advantage tool in D2L
-
In D2L, go to Admin Tools > Organization Related > Manage Extensibility.
-
Select the LTI Advantage tab.

-
Click Register Tool.

-
Complete the registration form using the values below.
|
Field |
Value / Guidance |
|---|---|
|
Tool Name |
Example: Apporto NextGen |
|
Domain |
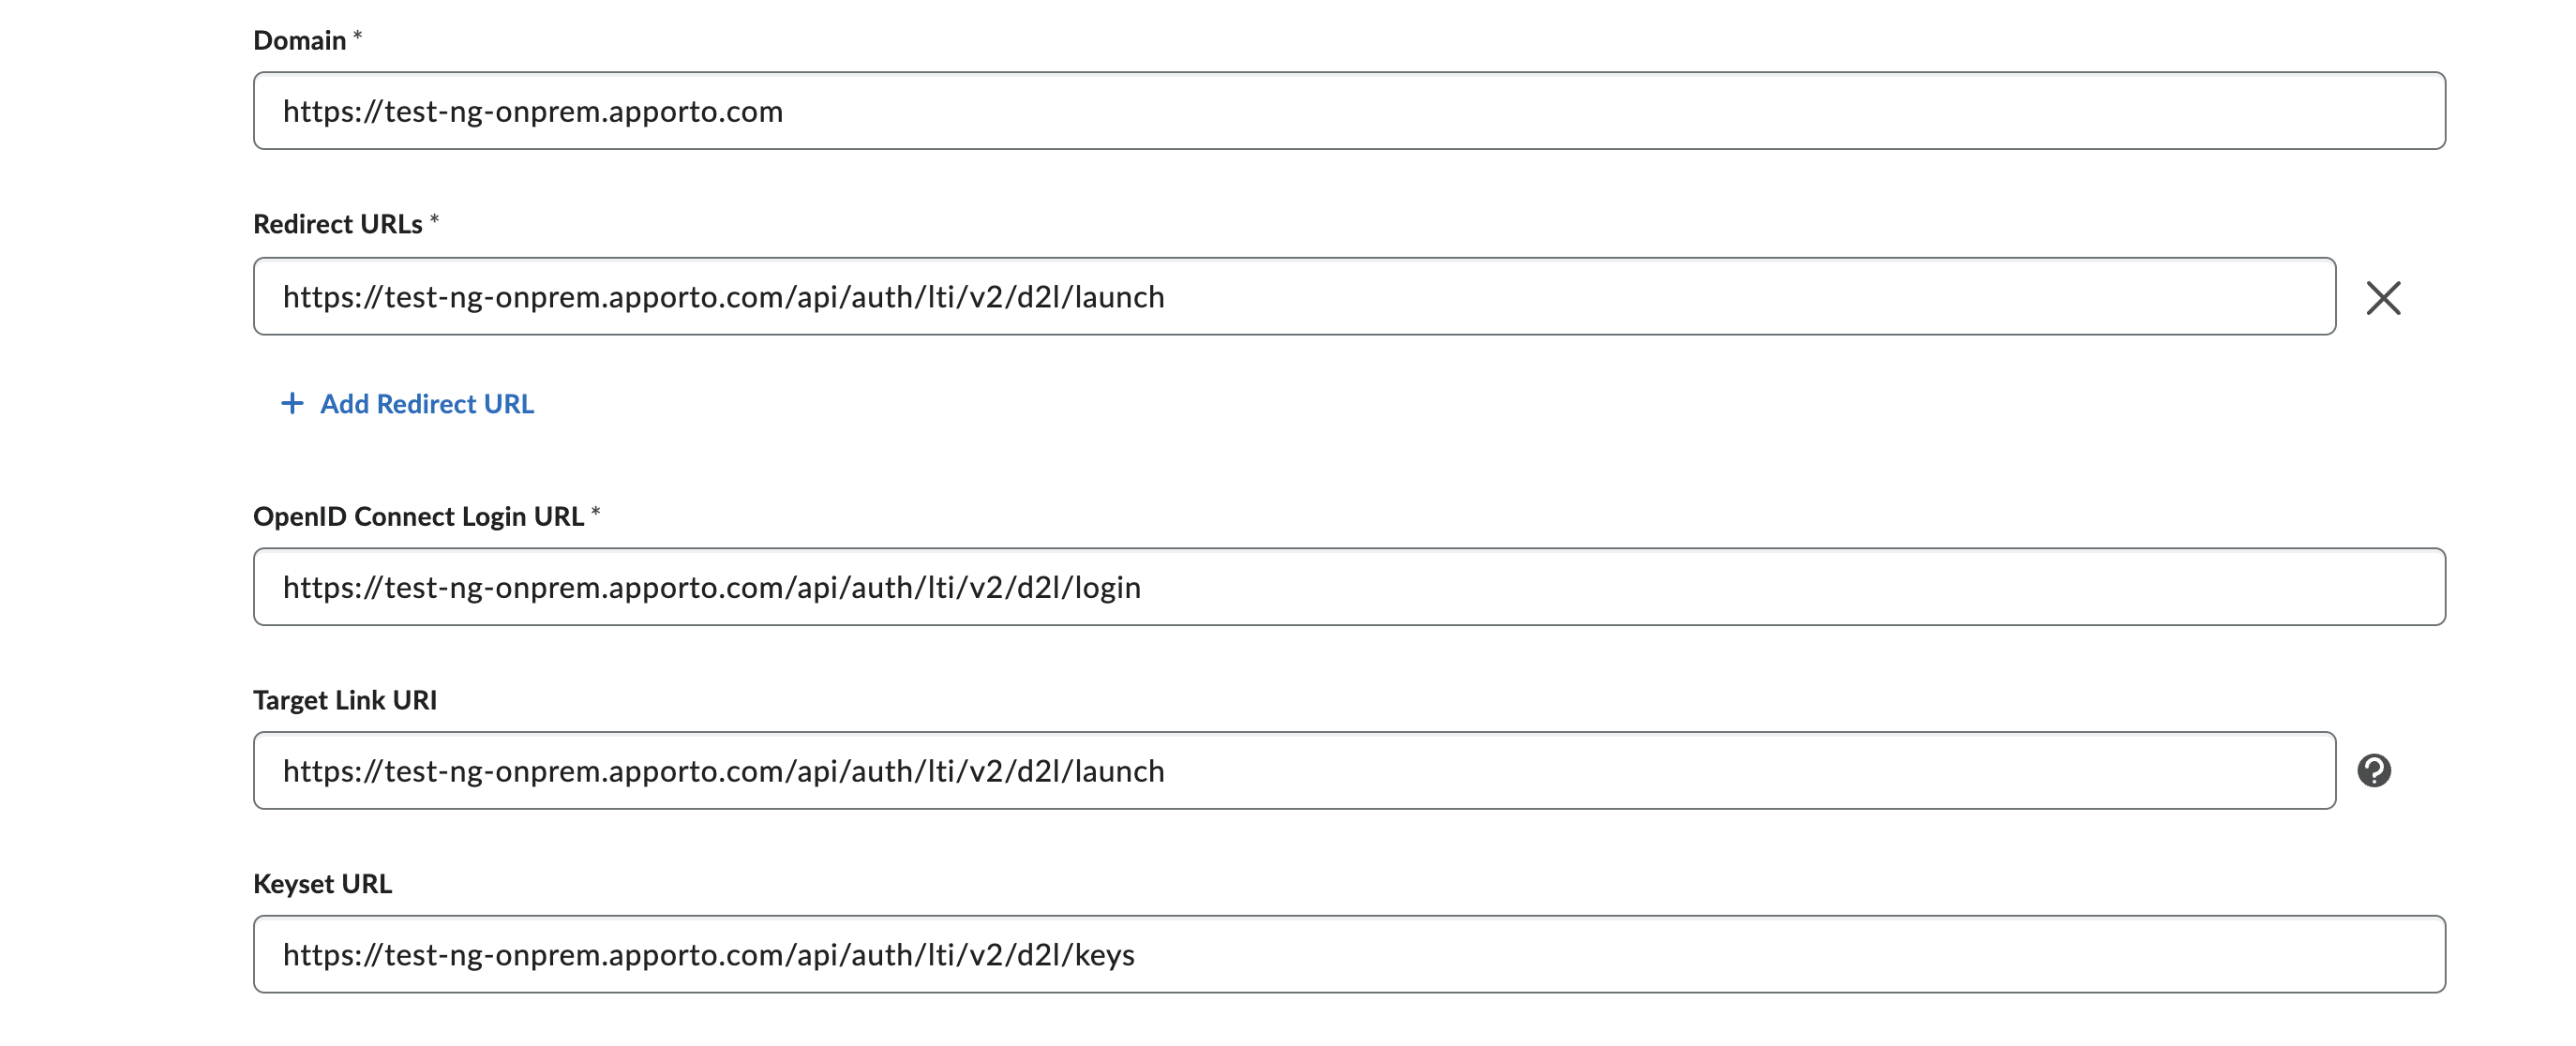
Your Apporto instance URL.
|
|
Redirect URLs |
|
|
OpenID Connect Login URL |
|
|
Target Link URI |
|
|
Keyset URL |
|
|
Extensions |
Check Assignment and Grade Services and Names and Role Provisioning Services. |
|
Roles |
Check Send Institution Role. |
Example of the completed URL fields:
-
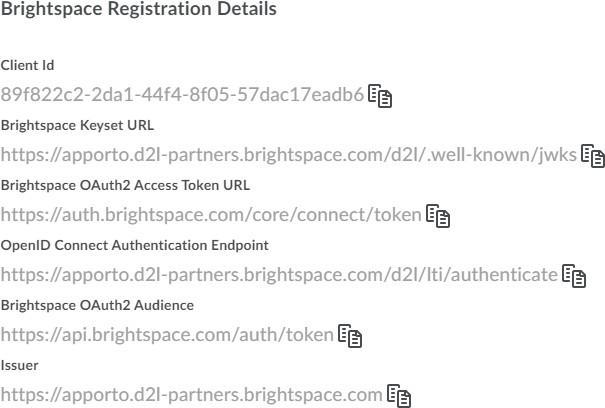
Click Register. D2L displays the Brightspace Registration Details. Keep these values; they are required for the Apporto configuration in Step 6.
-
The tool now appears in the LTI Advantage list. To view the registration details again later, click the tool name in the table.


From the Brightspace Registration Details you need: Client Id, OpenID Connect Authentication Endpoint, and Brightspace OAuth2 Access Token URL.
Step 3: Create the tool deployment
-
In D2L, go to Admin Tools > Organization Related > External Learning Tools.
-
Select the LTI Advantage tab and click New Deployment.

-
Complete the deployment form using the values below.
|
Field |
Value / Guidance |
|---|---|
|
Tool |
Select the tool you registered in Step 2. |
|
Deployment Name |
Any name. Example: Apporto LTI 1.3 Deployment |
|
Extensions |
Same as Step 2: Assignment and Grade Services and Names and Role Provisioning Services. |
|
Security Settings |
Check Org Unit Information, User Information, and Link Information. |
|
Make tool available to |
Click Add Org Units and choose the courses where the tool will be deployed. |
-
Save the deployment. D2L generates a Deployment Id; keep it, as it is used when setting up the tool on the Apporto instance.

Step 4: Create the deployment link
-
After saving the deployment, open its Links page and click New Link.

-
Complete the link form using the values below, then click Save and Close.
|
Field |
Value / Guidance |
|---|---|
|
Enabled |
Checked |
|
Name |
The link name displayed in courses. Example: NextGen Virtual Lab |
|
URL |
|
|
Type |
Basic Launch |
Step 5: Register an OAuth 2.0 app for API access
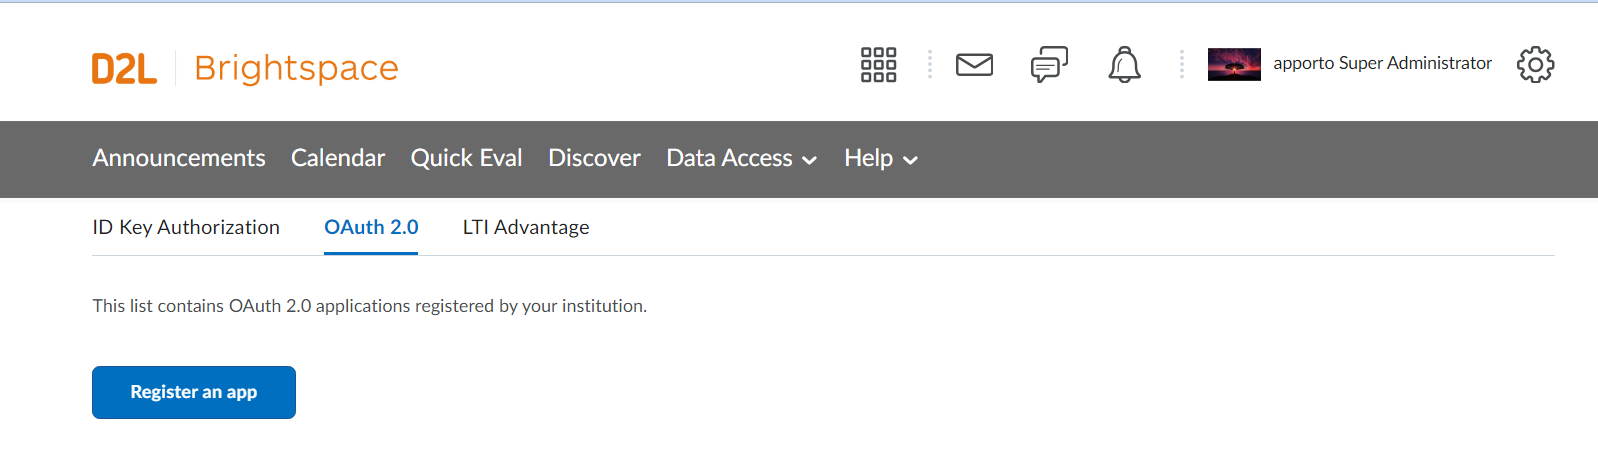
Apporto uses a separate OAuth 2.0 app to call the D2L APIs. The OAuth app's Client ID and Client Secret become the API Client ID / API Key and API Client Secret in Apporto.
-
In D2L, go to Admin Tools > Organization Related > Manage Extensibility, select the OAuth 2.0 tab, and click Register an app.
-
Enter an Application Name and set the Redirect URI to
https://{instancename}.apporto.com/api/auth/lti/d2l/redirect, then register the app. -
Select your OAuth app from the list. Example: NextGen lab

-
Copy the Client ID and Client Secret shown on the app details page.
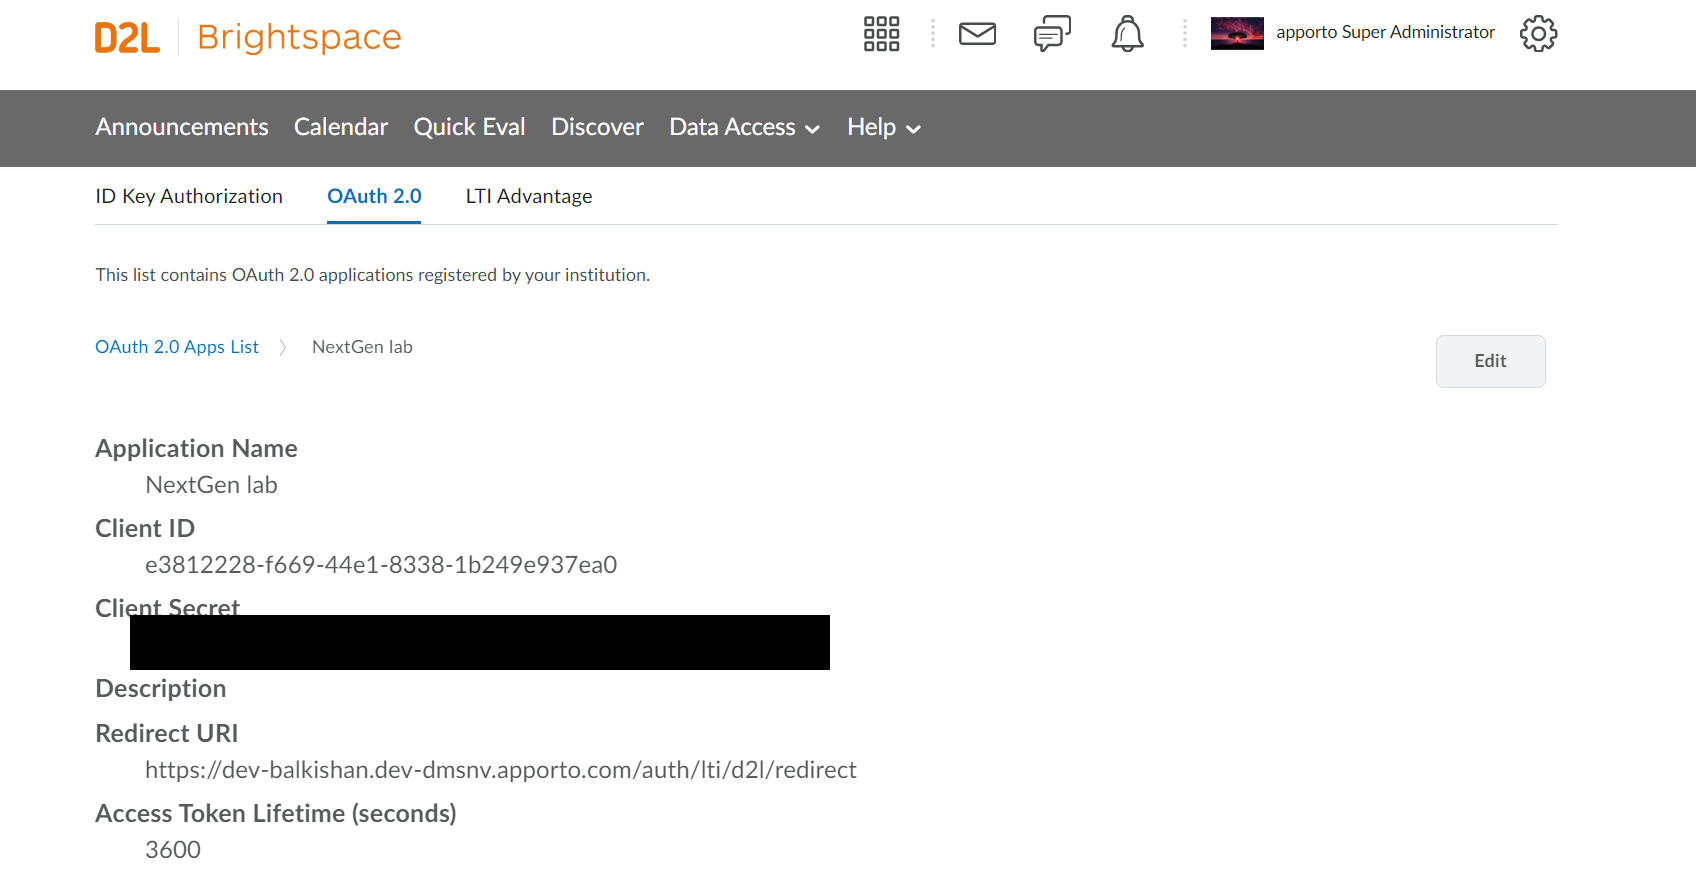
Caution: Treat the Client Secret as a credential. Do not share it in screenshots, tickets, or chat.
Step 6: Create the LTI configuration in Apporto NextGen
-
In NextGen, go to
{Base URL}/system-config. -
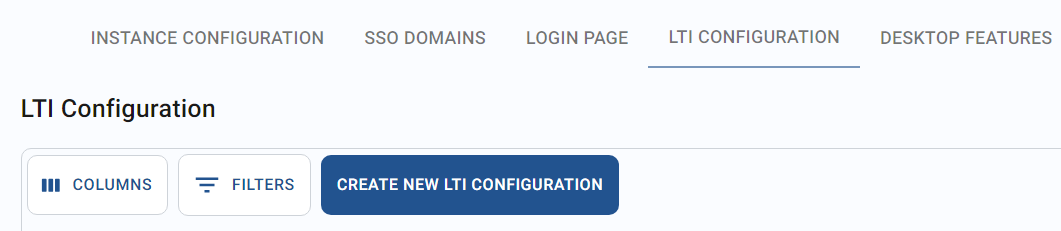
Select the LTI CONFIGURATION tab.
-
Click Create New LTI Configuration.
-
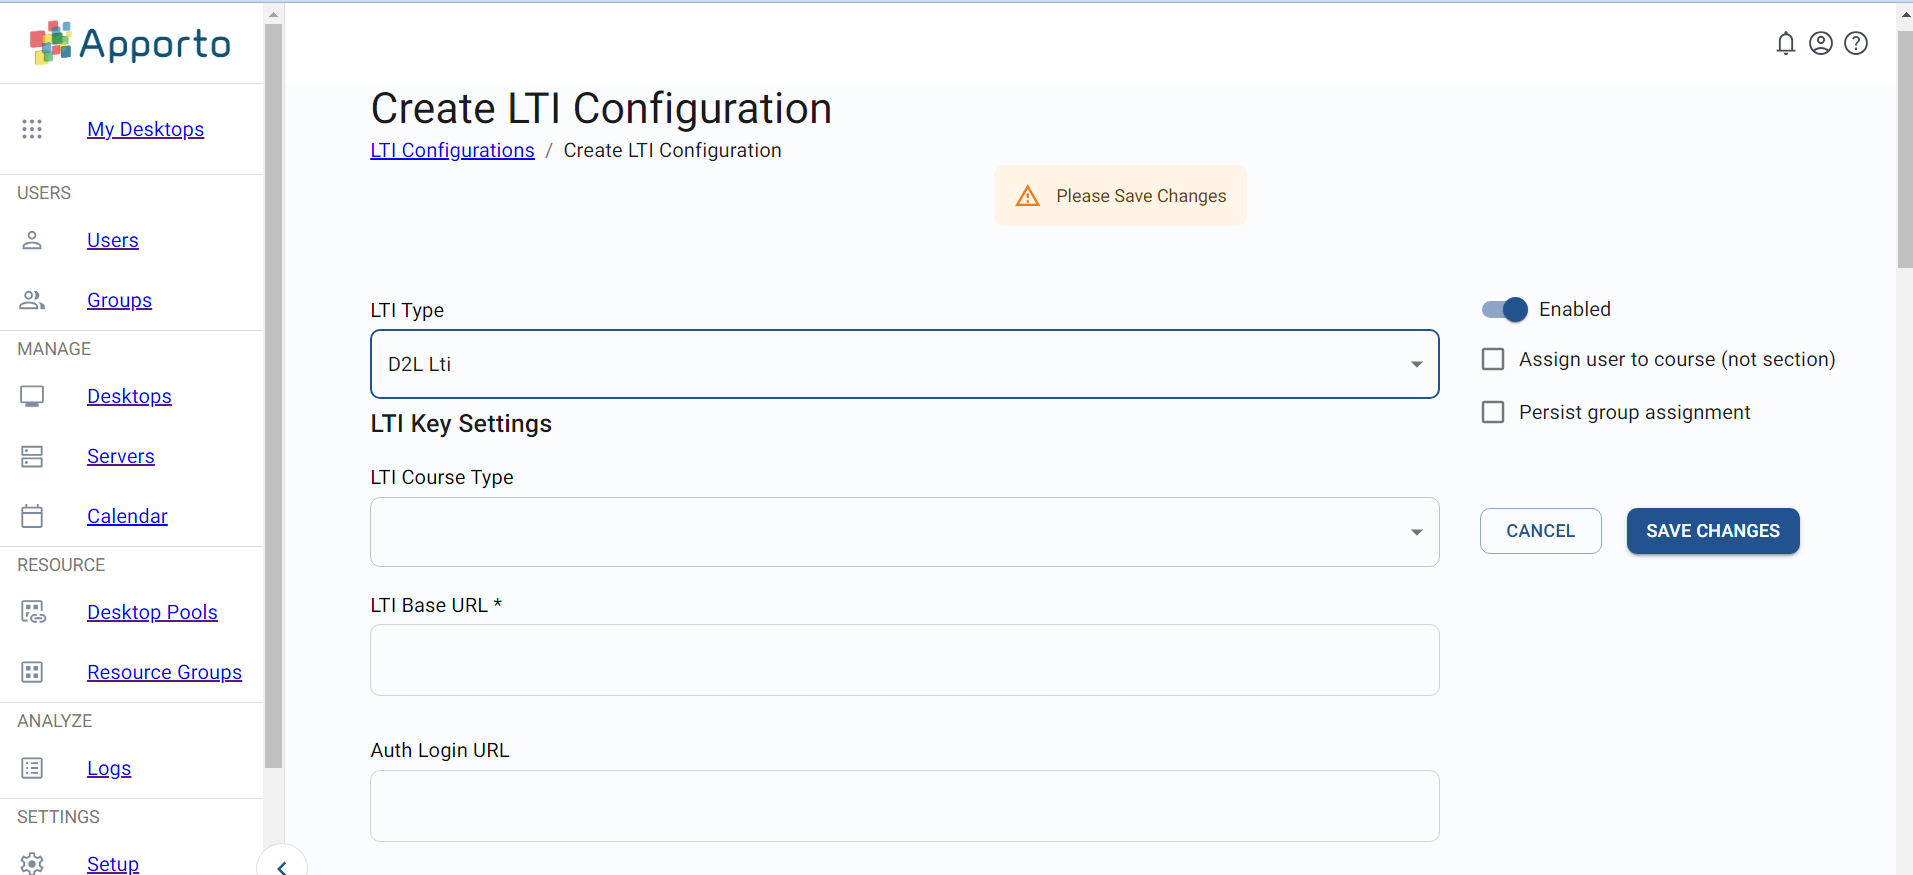
Complete the LTI configuration form using the values below.
|
Field |
Value / Guidance |
|---|---|
|
LTI Type |
D2L LTI |
|
LTI Course Type |
Set as per need:
|
|
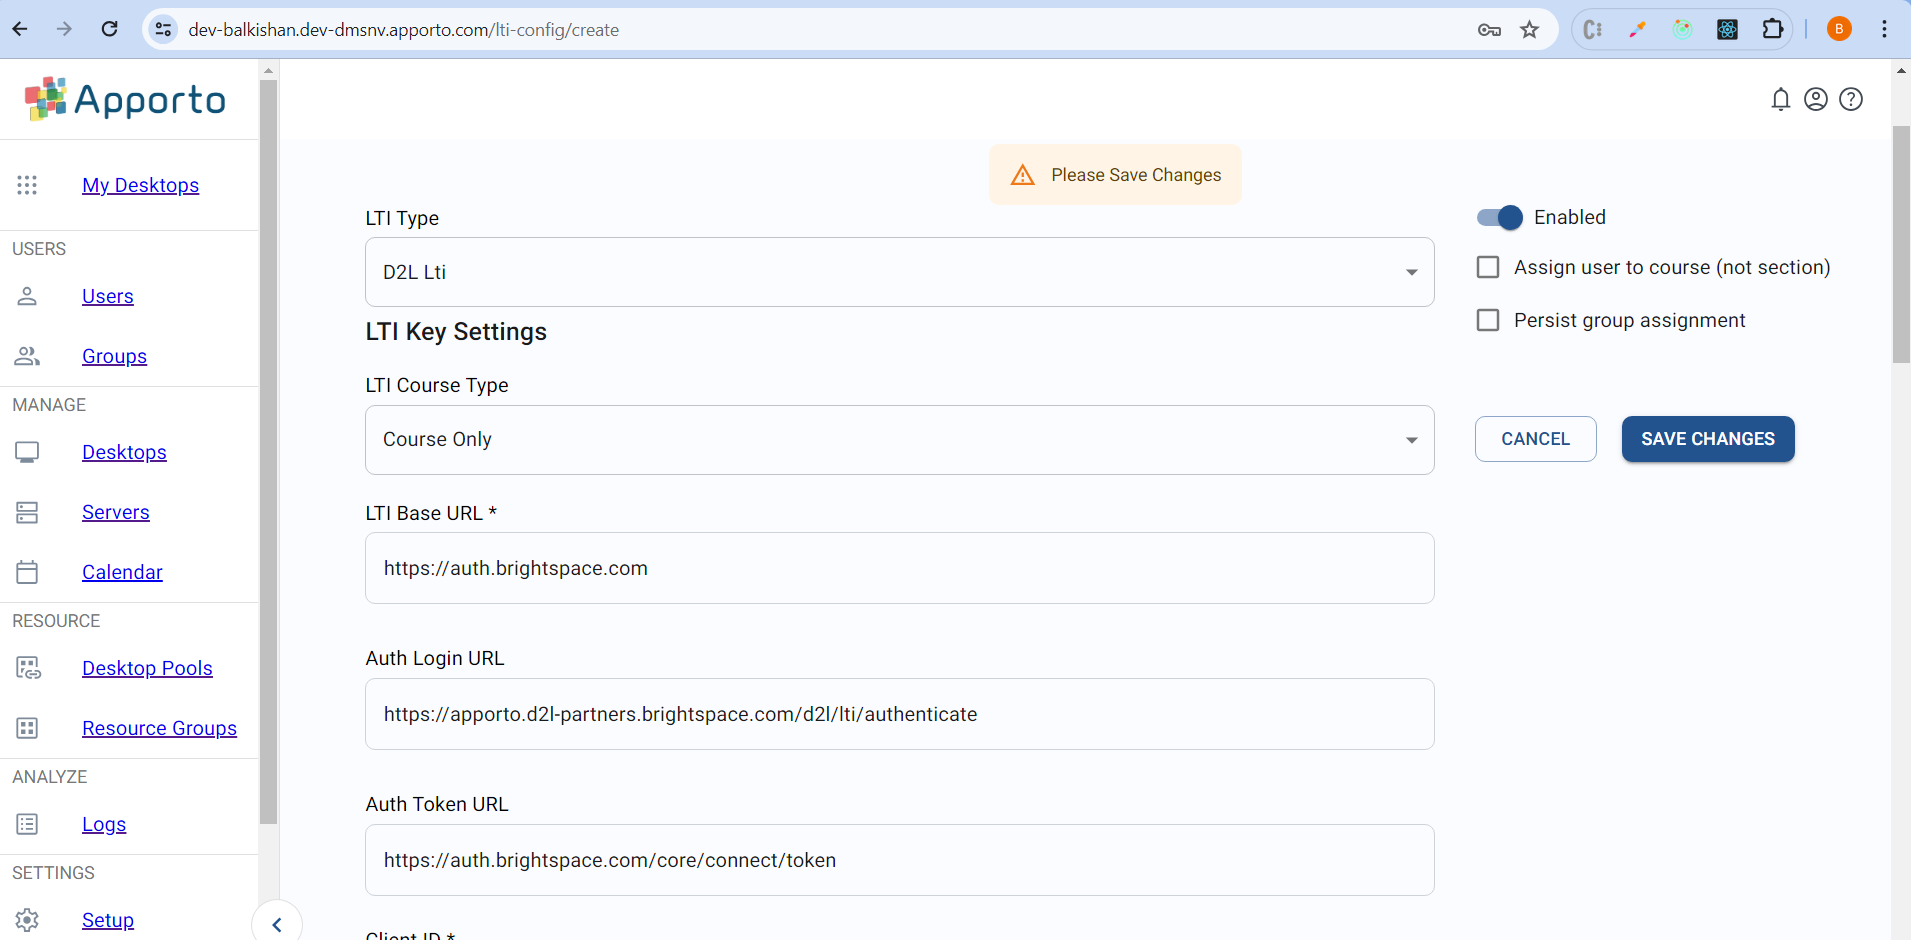
LTI Base URL |
|
|
Auth Login URL |
OpenID Connect Authentication Endpoint from the Brightspace Registration Details.
|
|
Auth Token URL |
Brightspace OAuth2 Access Token URL from the Brightspace Registration Details.
|
|
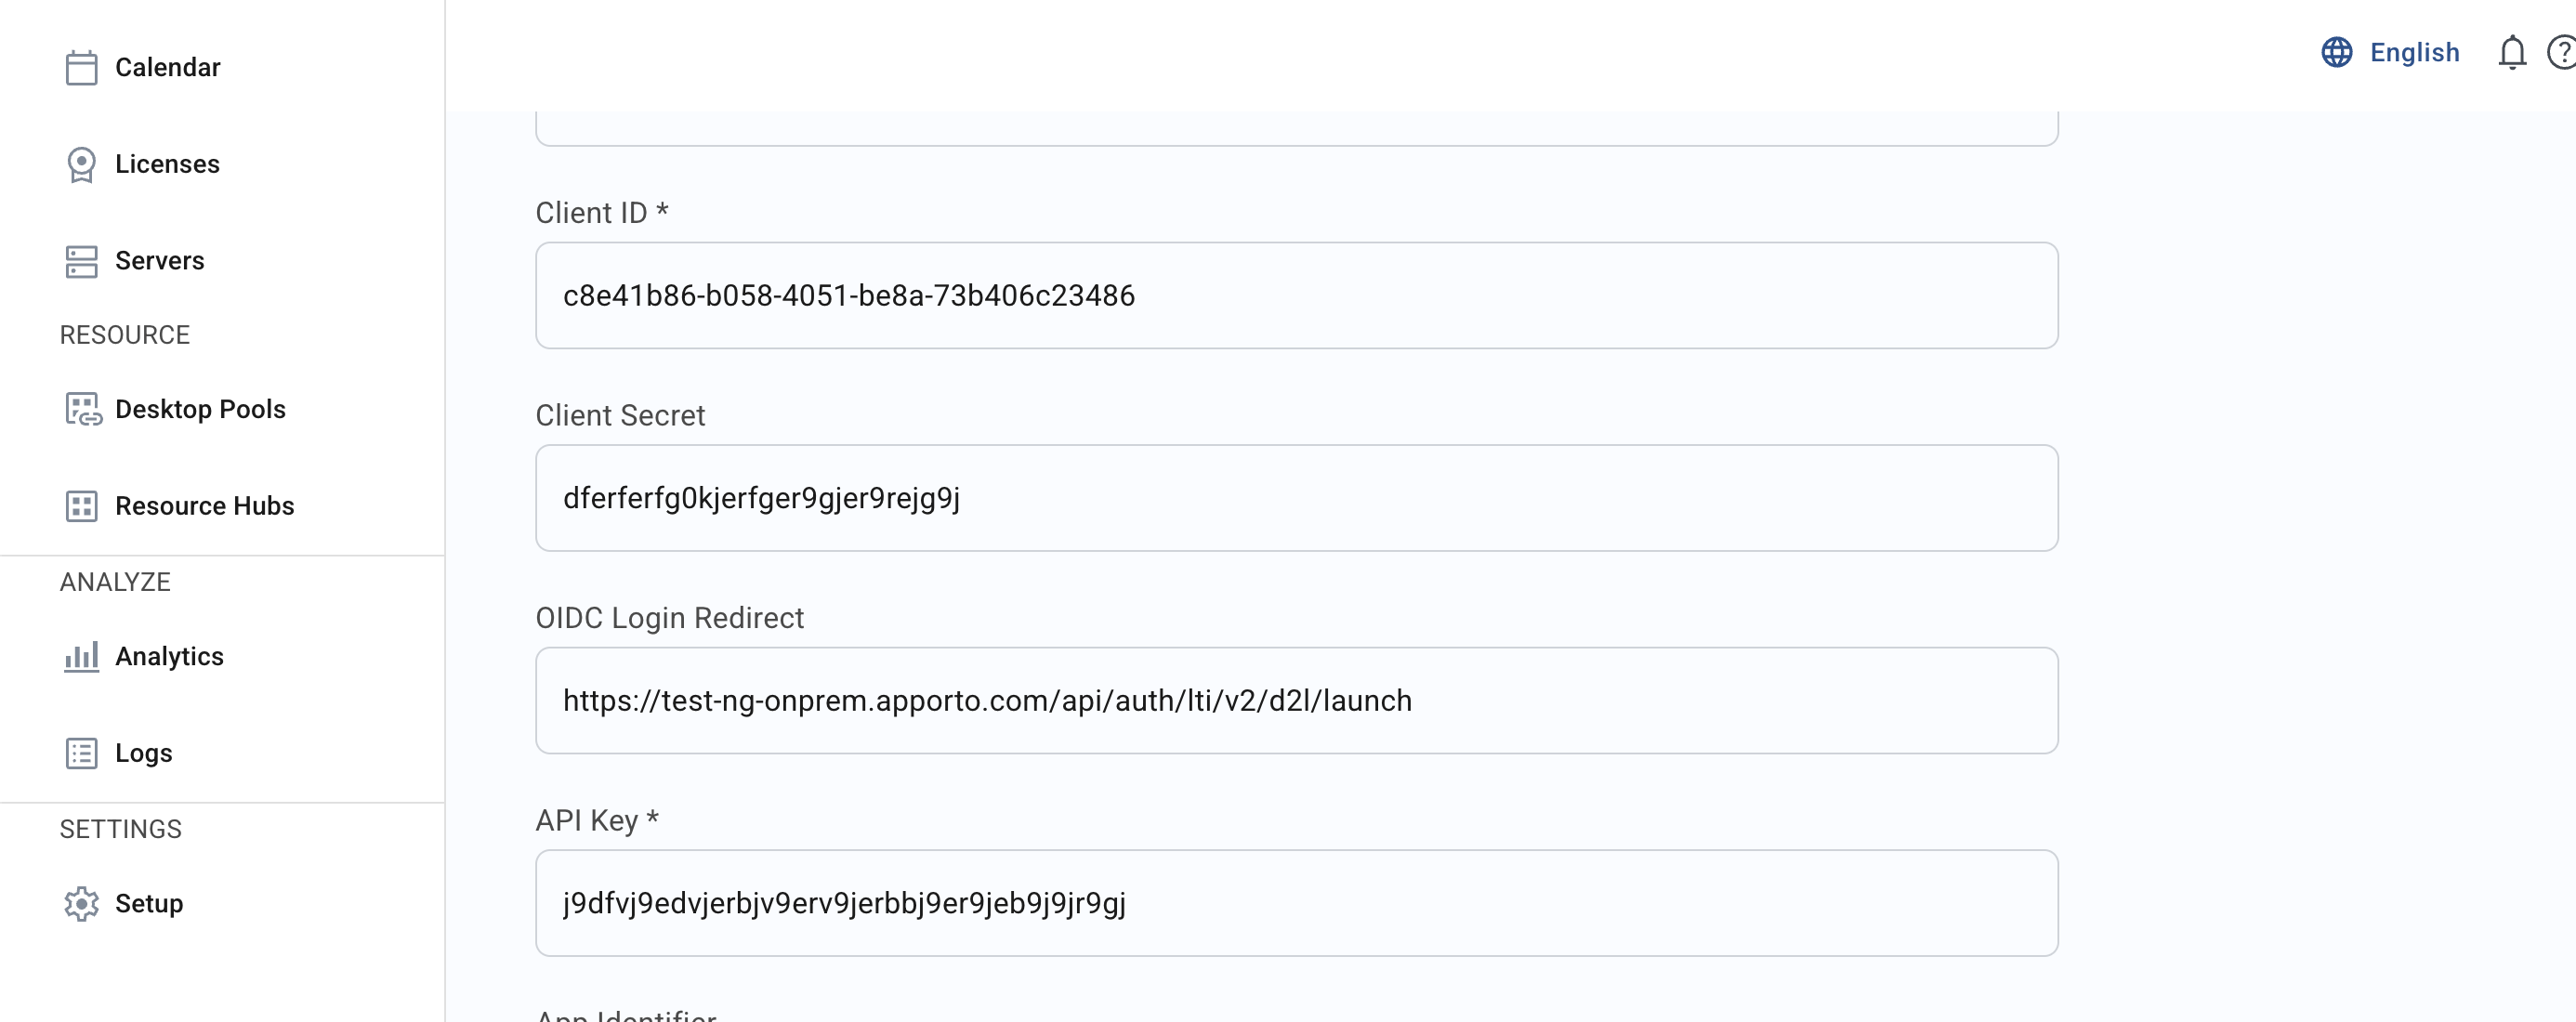
Client ID |
Client Id from the Brightspace Registration Details (Step 2).
|
|
Client Secret |
Same value as the API Client Secret. |
|
OIDC Login Redirect |
|
|
API Key / API Client ID |
Both values are the same: the Client ID of the OAuth 2.0 app (Step 5). |
|
API Client Secret |
The Client Secret of the OAuth 2.0 app (Step 5). |
|
App Identifier |
|
|
API Redirect URI |
|
Example of a completed D2L LTI configuration:
Caution: D2L does not support localhost URLs. Ensure all URLs exactly match the Apporto environment being used. Mismatched URLs are a common cause of authorization failure.
Step 7: Save and authorize the integration
-
Click Save Changes.
-
In the Authorize your developer key dialog, click the here link.
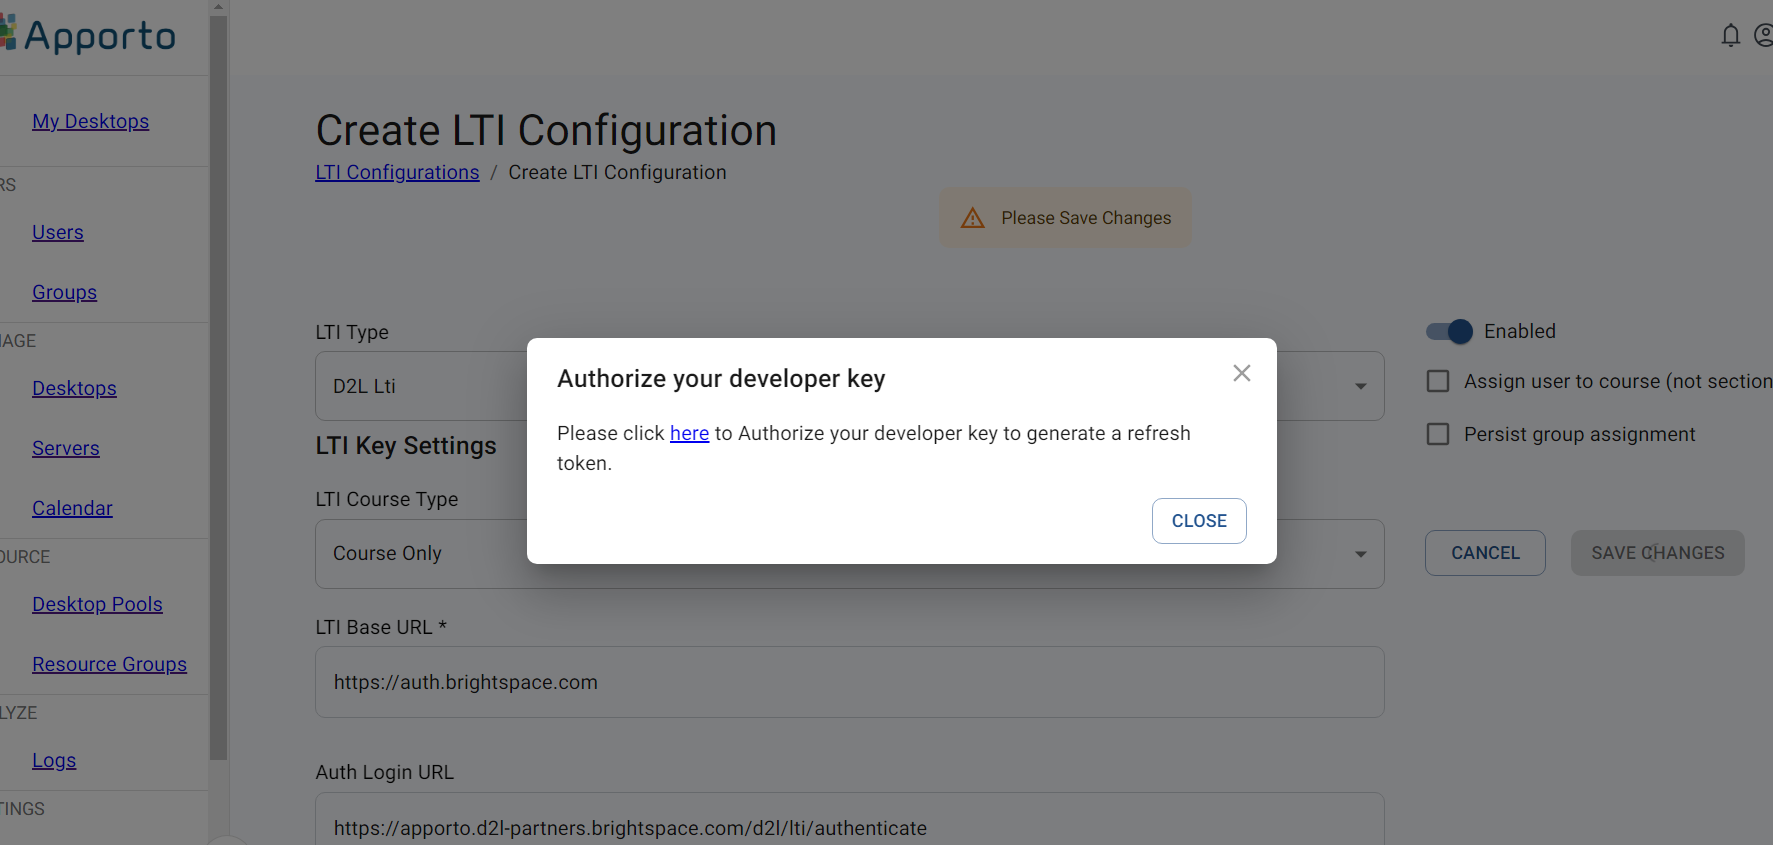
-
Approve the authorization in D2L.
-
After successful authorization, the browser redirects to
{Base URL}/system-config?tabIndex=6.
Expected result: The D2L LTI configuration is saved, authorized, and ready to be used in D2L courses.
Step 8: Add the tool to a D2L course
-
Open the course from which you want to launch Apporto. Example: Art 101.
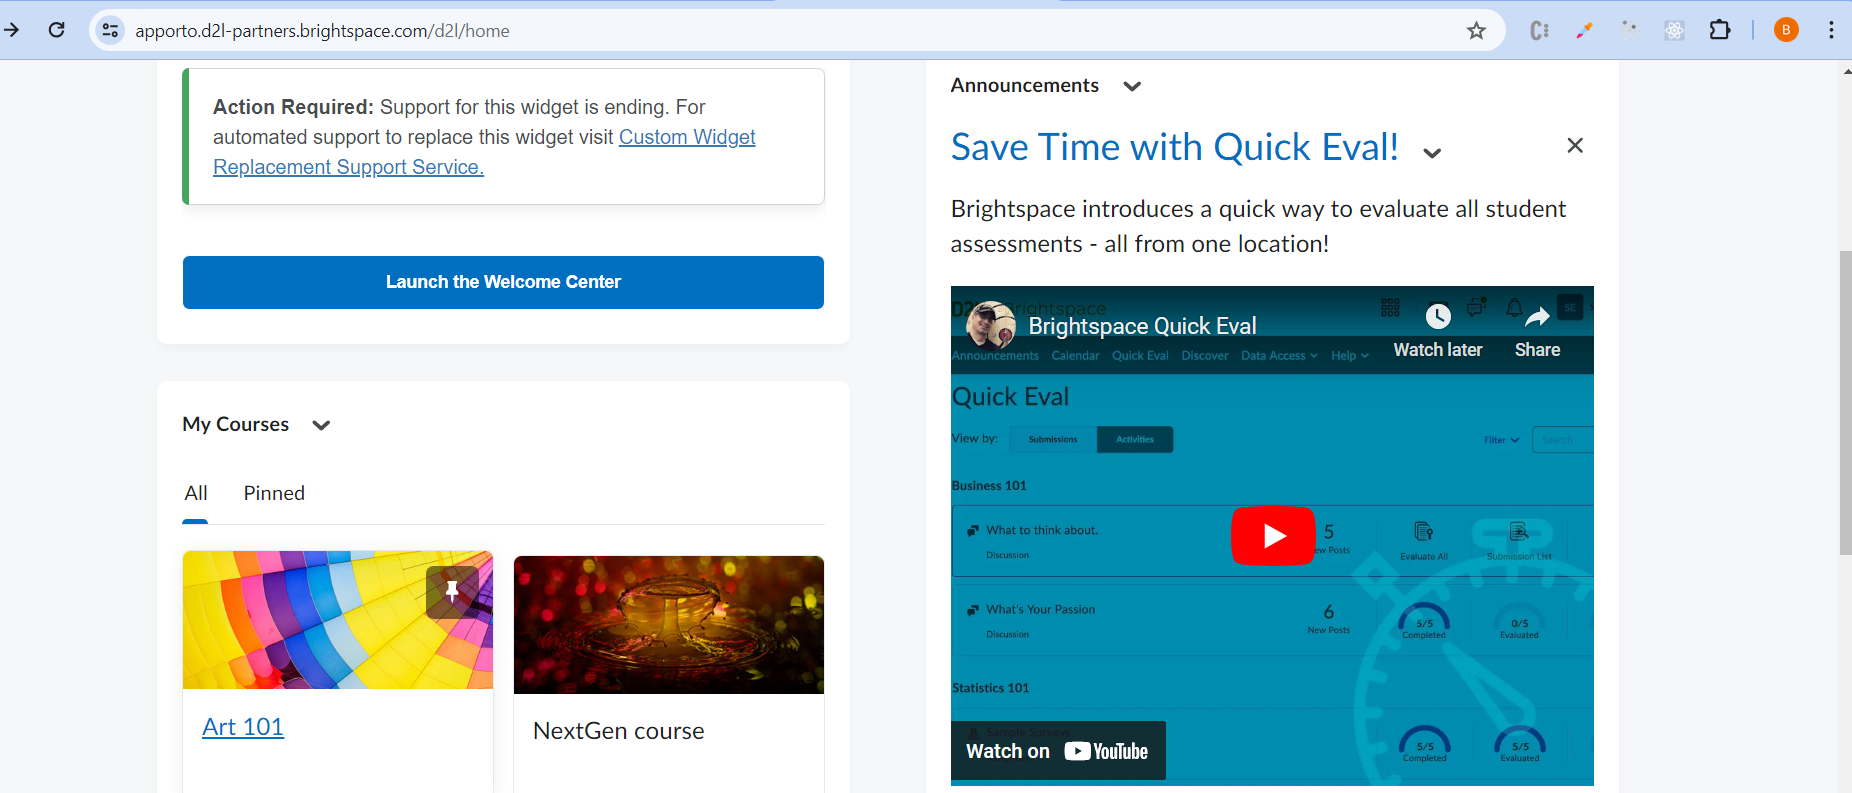
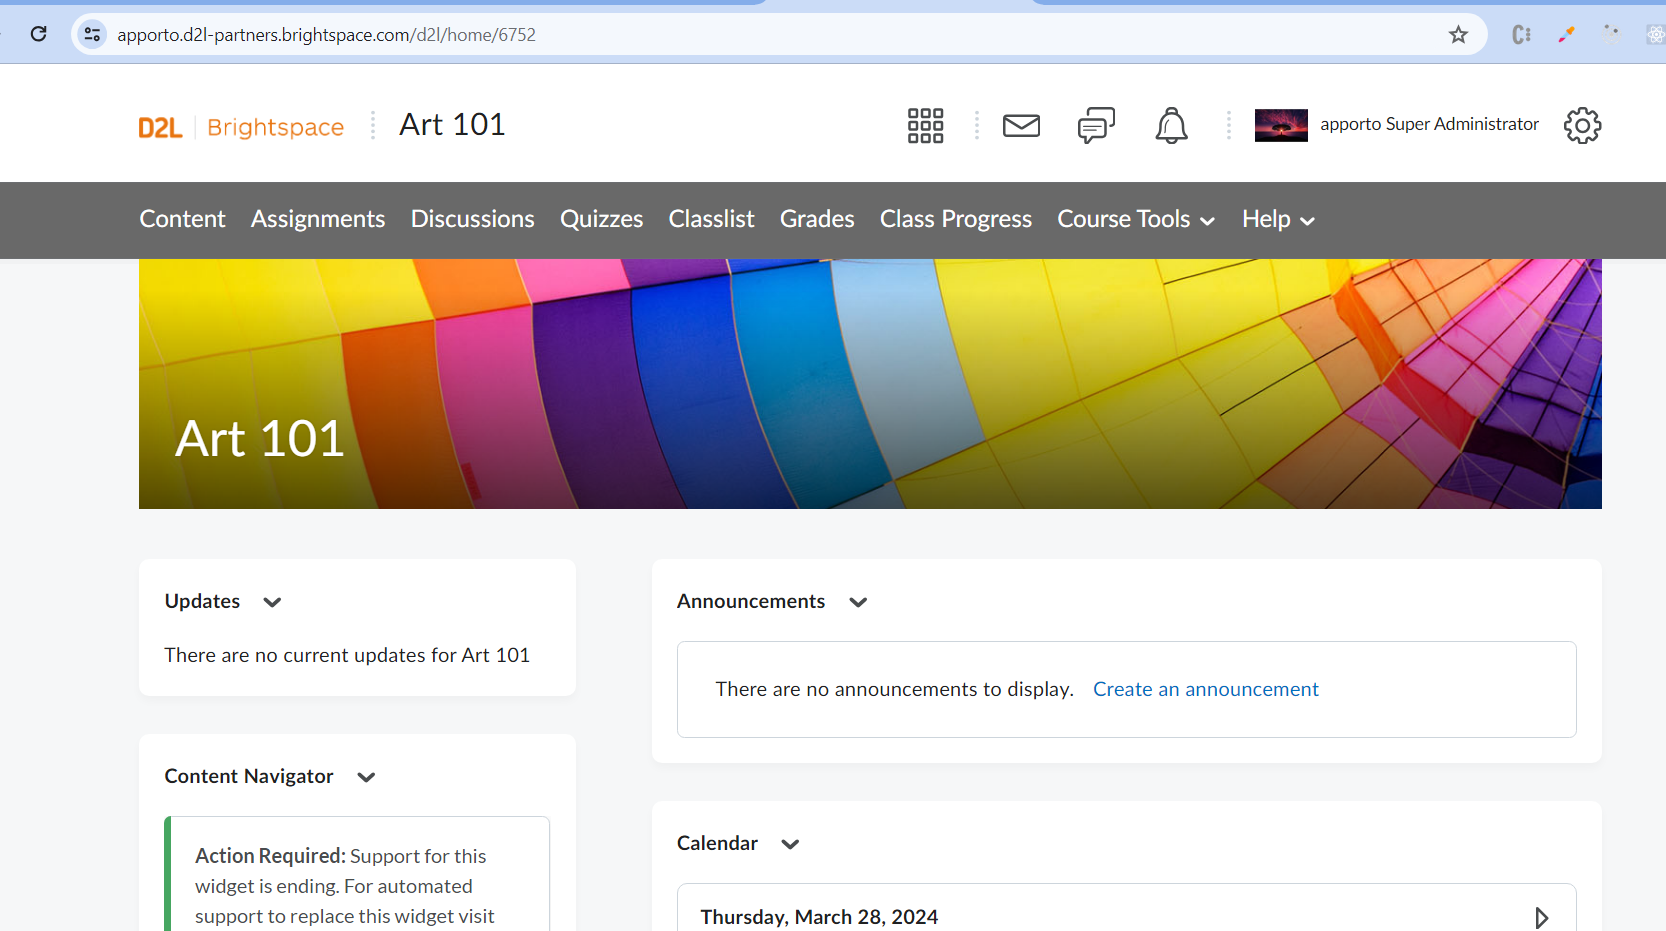
-
Select Content from the course navigation, then select Add a module (for a new module) or an existing module.
-
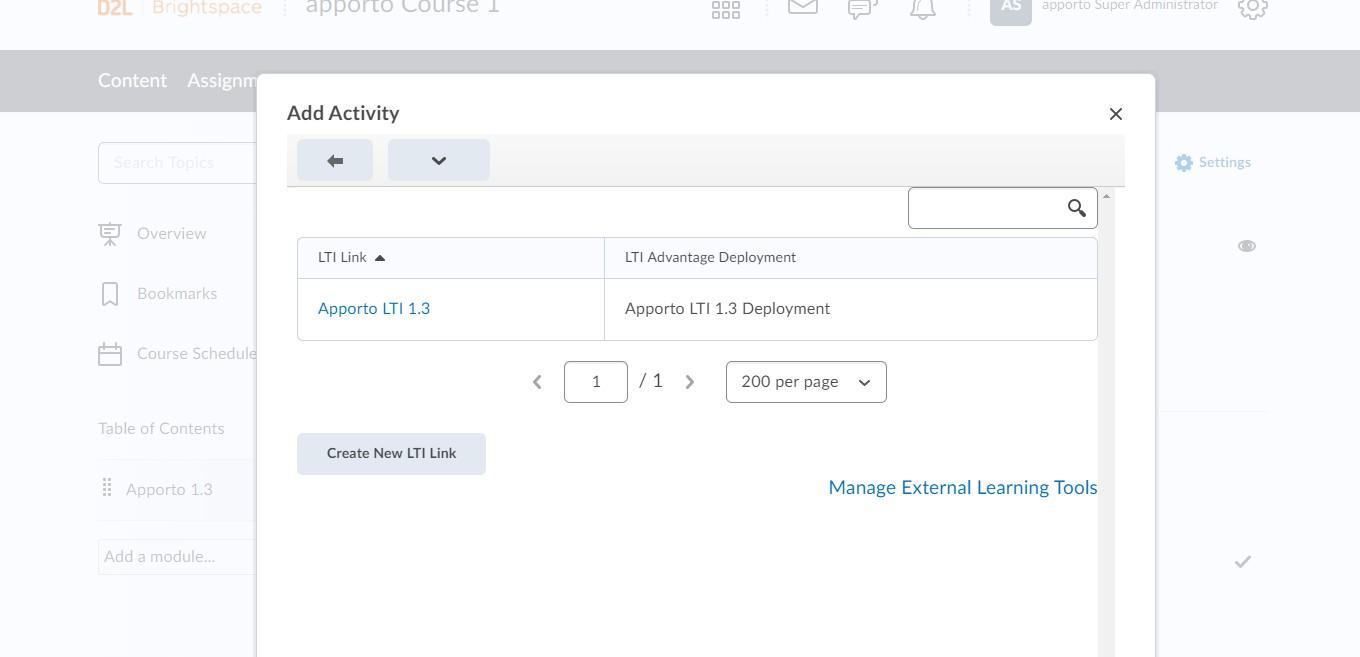
Click Existing Activities and select External Learning Tools. A pop-up shows the available links for the course; you can also create a new link from there.
-
Select the link (for example, NextGen Virtual Lab). The tool is added to the module.
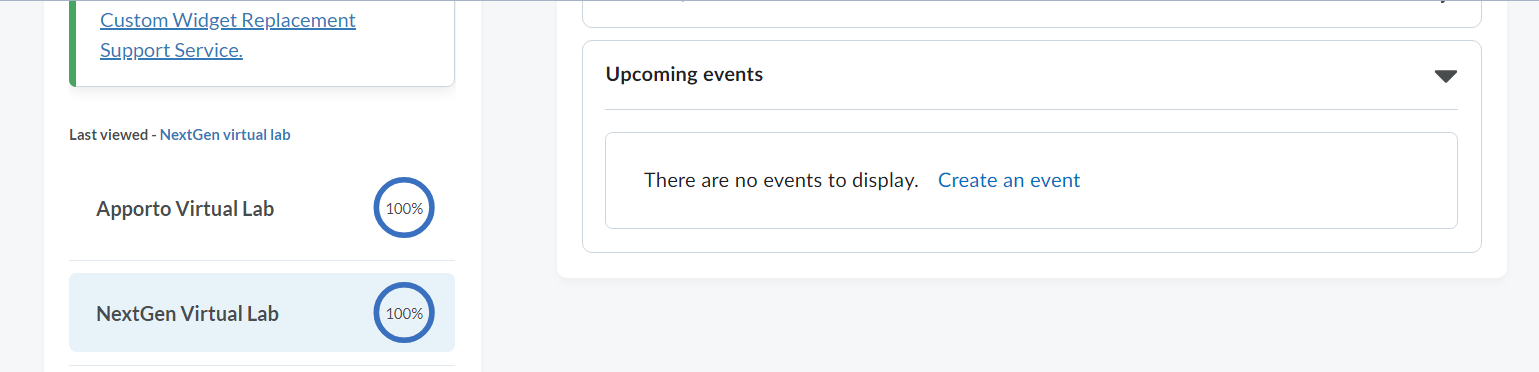

-
Click Bulk Edit and enable the option to open the tool as an external resource.
Step 9: Launch Apporto from D2L
-
In the course module, click the link (for example, NextGen Virtual Lab) and click Open in New Window.
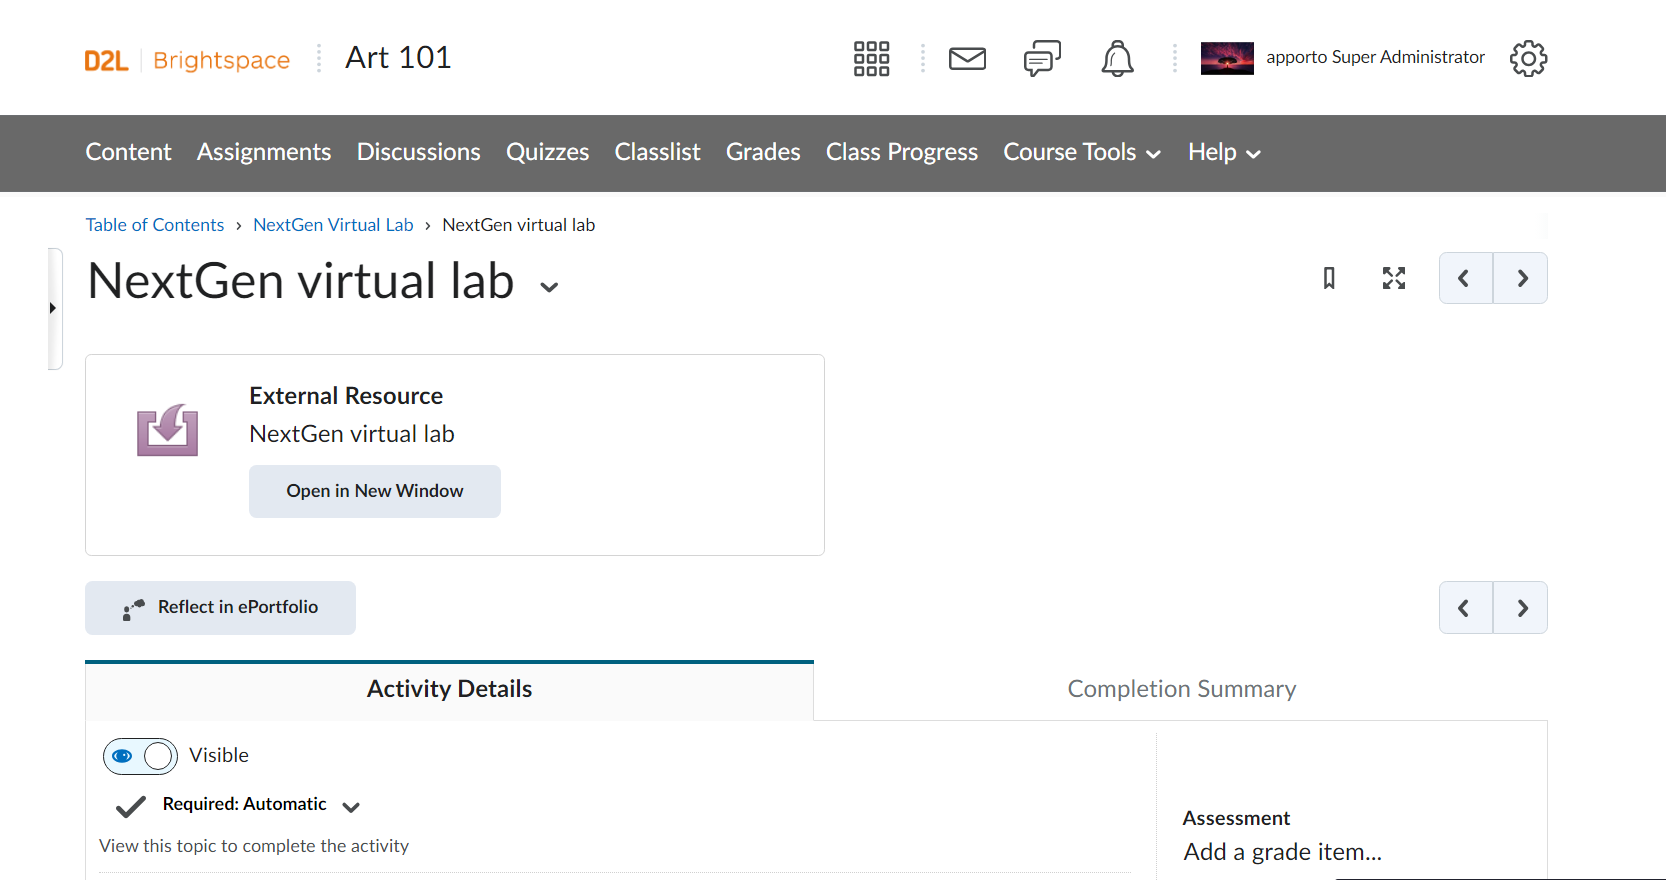
-
This redirects to your Apporto instance and creates the user. You can now launch the desktops assigned to you.
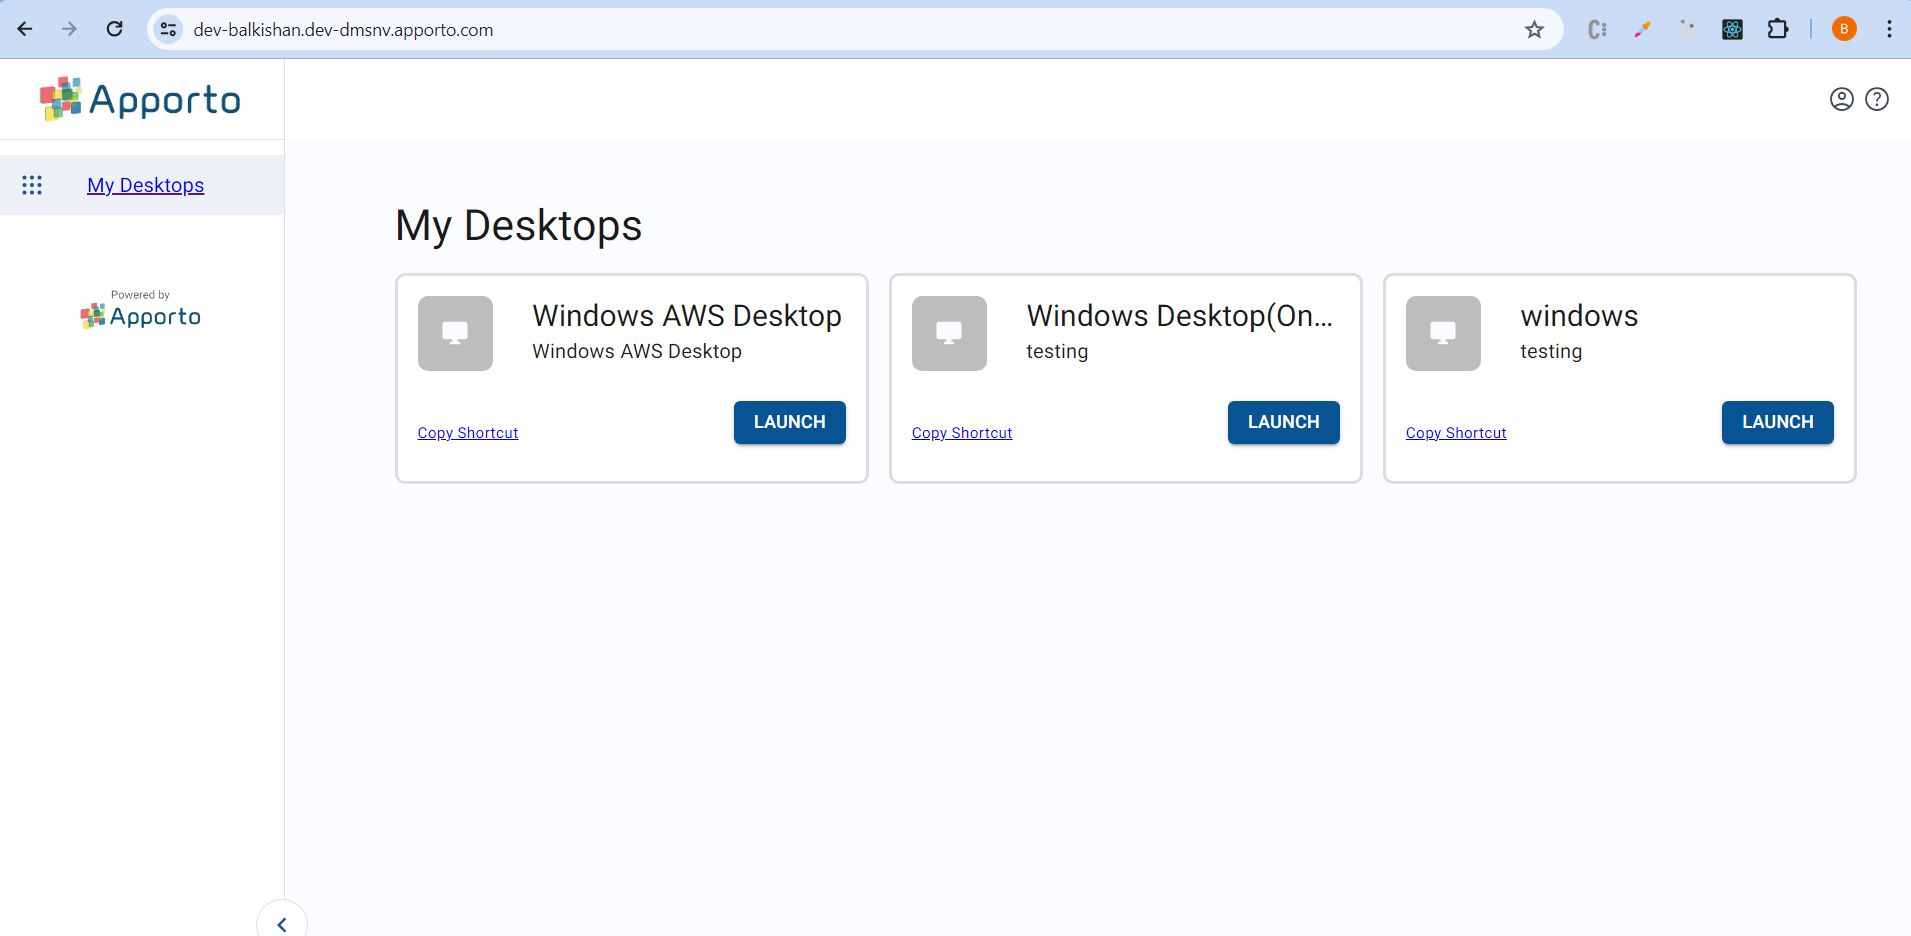
Expected result: The user is provisioned in Apporto NextGen and can launch their assigned desktops.
Deep linking to a specific desktop
To open a specific desktop directly from a D2L link:
-
Open the deployment link created in Step 4 and click Add Custom Parameter.

-
Set Name to
nidand Value to the desktop ID.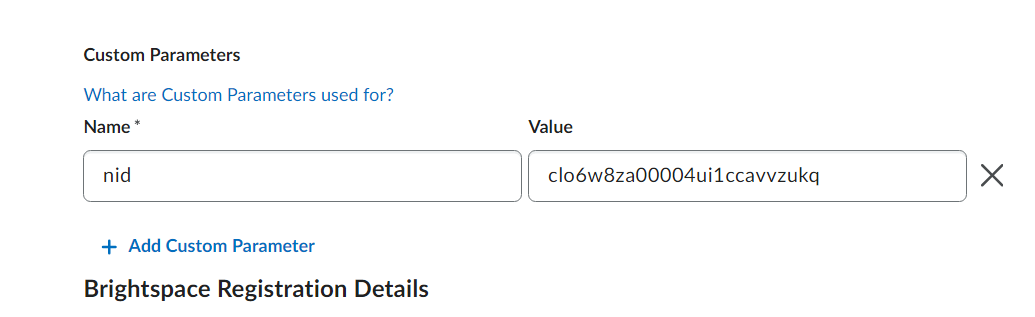
Note: nid is a static value and must be used in the Name column. You can find the desktop ID in the Appstore by hovering over the app name, or ask the Apporto support team for the nid of the app. For every deep link, create a new link on the LTI Advantage deployment.
Troubleshooting
Authorization fails
-
Confirm the Client ID comes from the Brightspace Registration Details, and the API Client ID / API Client Secret come from the OAuth 2.0 app.
-
Verify the OAuth app Redirect URI matches the Apporto API Redirect URI exactly.
-
Make sure you are not using
localhost.
Course launch does not open Apporto
-
Confirm the deployment is available to the course org unit (Step 3) and the link is enabled (Step 4).
-
Check that the integration was authorized (Step 7) before launch testing.
-
Validate that the user has access to an assigned desktop after provisioning.
Deep linking does not open the expected desktop
-
Confirm the App Identifier in Apporto is set to
nid. -
Verify the custom parameter name is
nidand the value is the correct desktop ID.