

This guide explains how to configure a Blackboard LTI 1.3 integration with Apporto NextGen, add the tool to a Blackboard course, and complete the first launch that provisions the user in Apporto.
Overview
The configuration requires work in three places:
-
Blackboard Developer Portal (developer.blackboard.com) to register the application and obtain the Application / Client ID, Key, and Secret
-
Blackboard instance (Admin) to register the LTI 1.3 / Advantage tool and manage its placements
-
Apporto NextGen to create the LTI configuration
Once setup is complete, the tool can be added to a Blackboard course and used to launch Apporto. The first launch creates the user in Apporto.
Prerequisites
-
Administrator access to the Blackboard instance
-
Access to the Blackboard Developer Portal
-
Administrator access to the Apporto NextGen environment
-
A publicly reachable Apporto instance URL (Blackboard does not support
localhostURLs) -
A Blackboard course available for launch testing (for example, Math 101)
-
Client Secret, API Client Secret, and API Key values (provided by the developer team)
Step 1: Sign in to both platforms
-
Log in to the Blackboard instance as an administrator. Example: https://apporto-test.blackboard.com/
-
Log in to Apporto NextGen as an administrator. Example:
https://{instancename}.apporto.com
Step 2: Register the application on the Blackboard Developer Portal
-
Go to the Blackboard Developer Portal and log in.
-
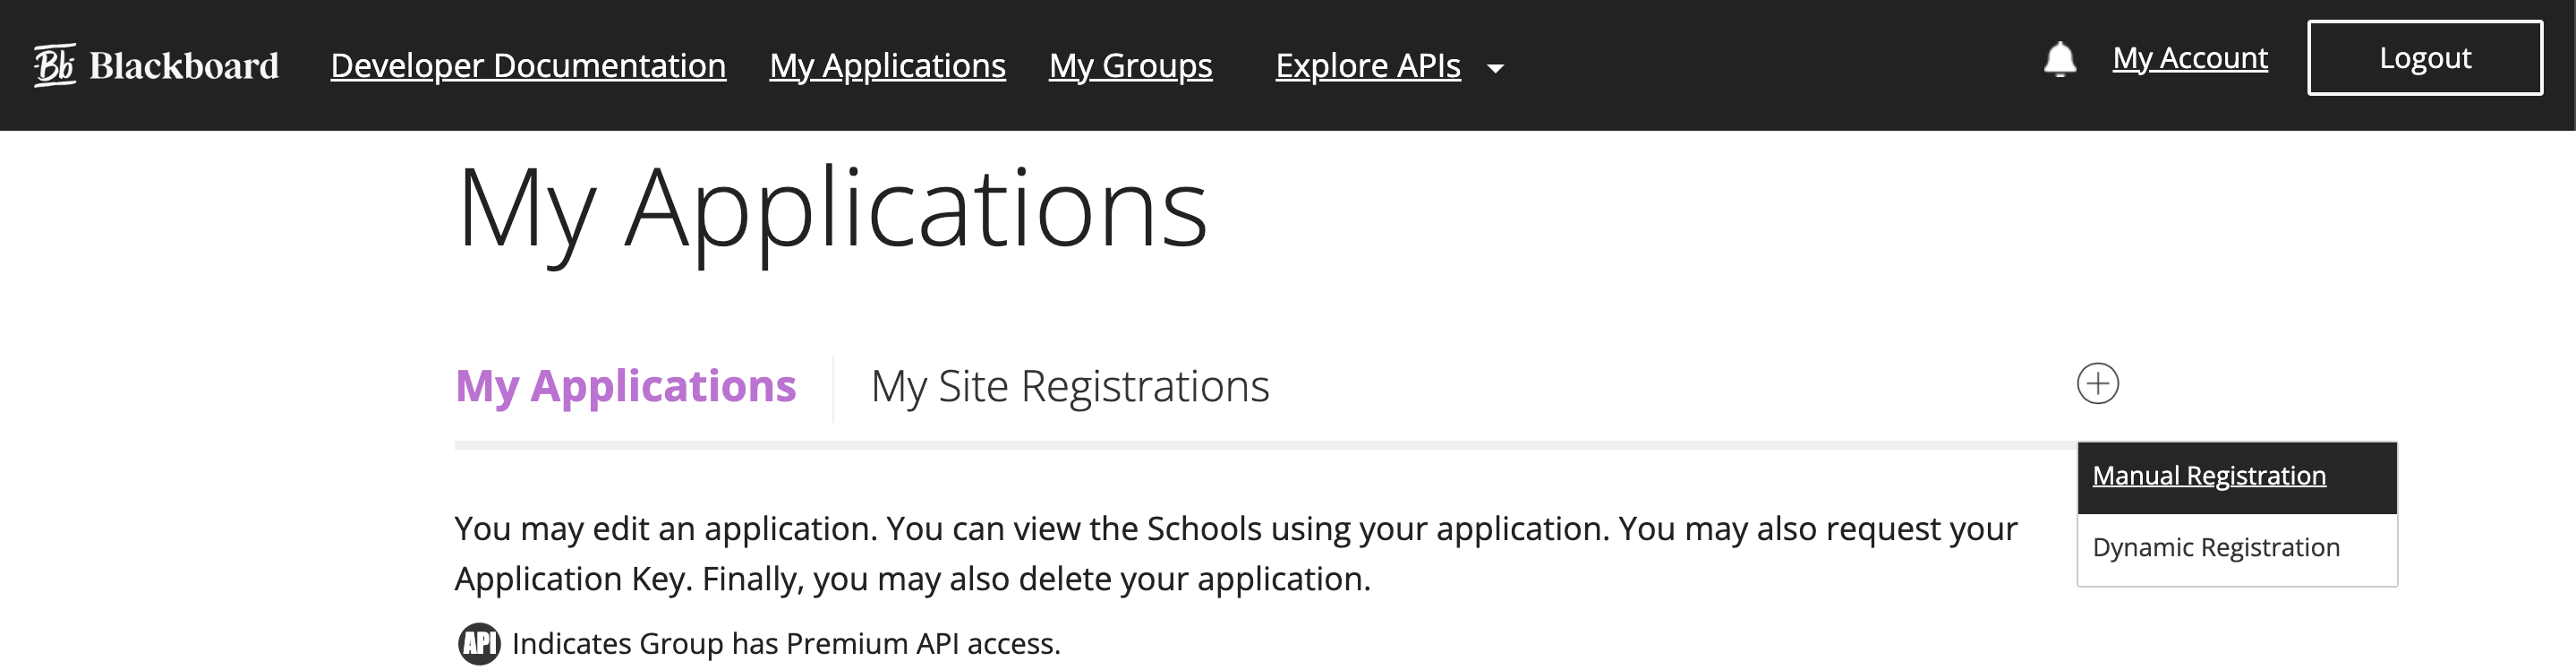
Click + to create a new application and select Manual Registration.
-
Enter the application name, description, and other required details using the values below.
|
Field |
Value / Guidance |
|---|---|
|
Application Name |
Example: Apporto NextGen |
|
Domain(s) |
Example: |
|
Login Initiation URL |
|
|
Tool Redirect URL(s) / Target Link URI |
|
|
Tool JWKS URL |
|
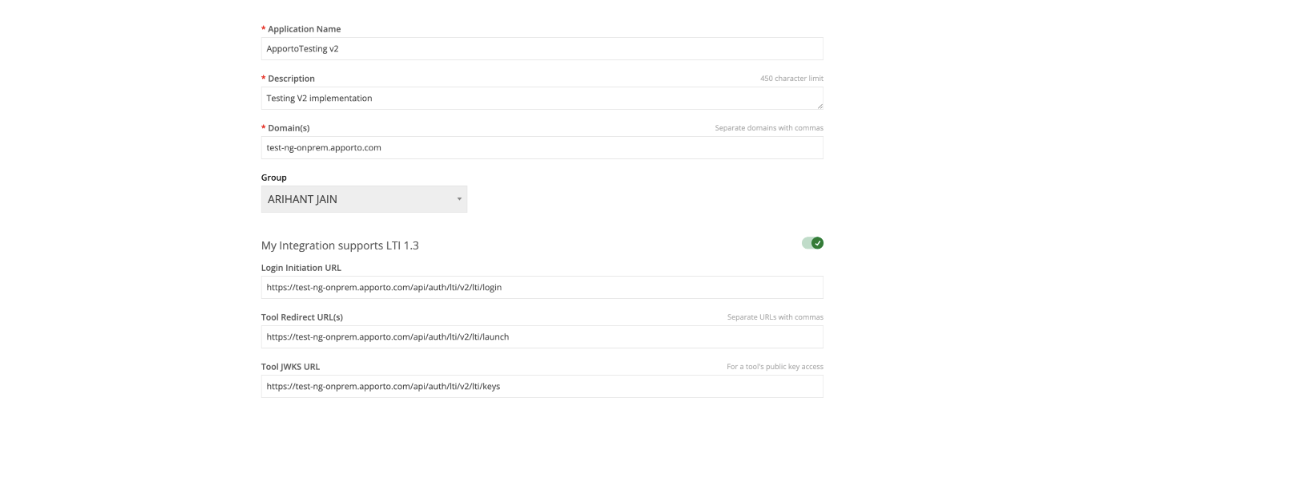
-
Configure any remaining LTI settings as needed, then click Register application.
-
Copy the credentials shown after registration (Application ID, Key, Secret). The secret is only displayed once.
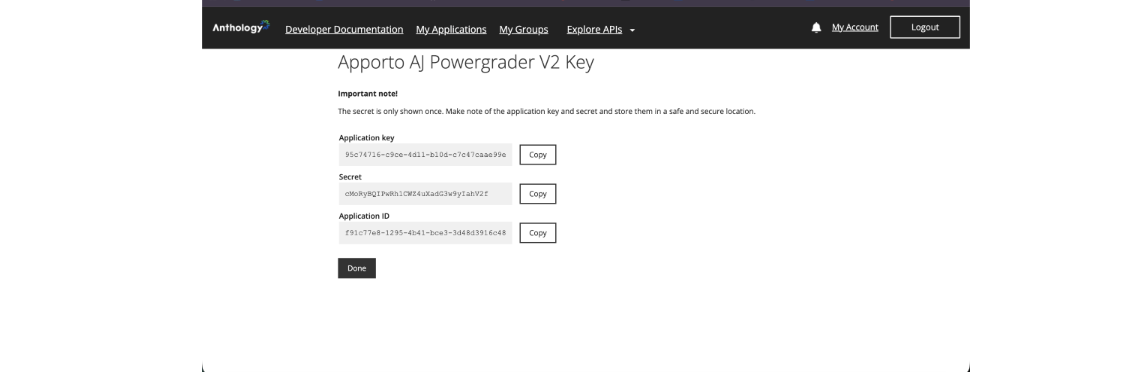
The Application ID from this step is the Client ID used in both Blackboard (Step 3) and Apporto NextGen (Step 4).
Step 3: Register the LTI 1.3 tool in Blackboard
-
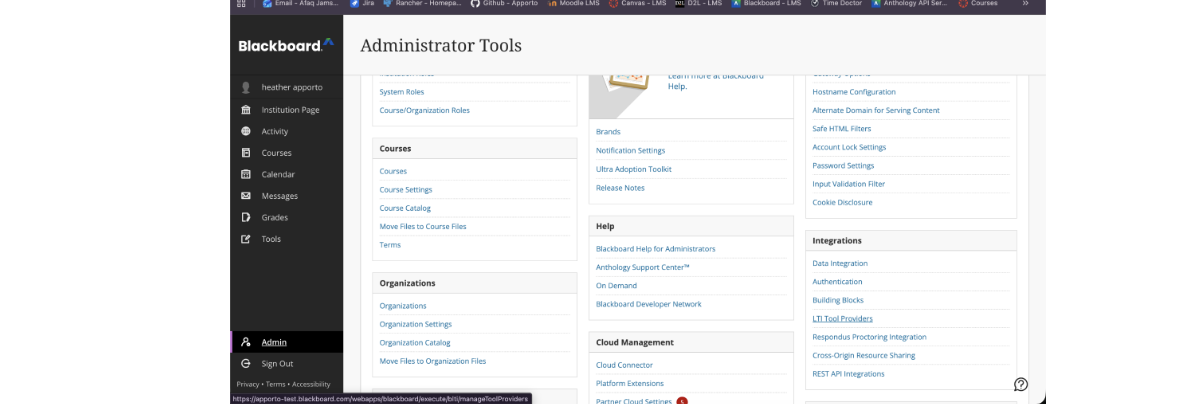
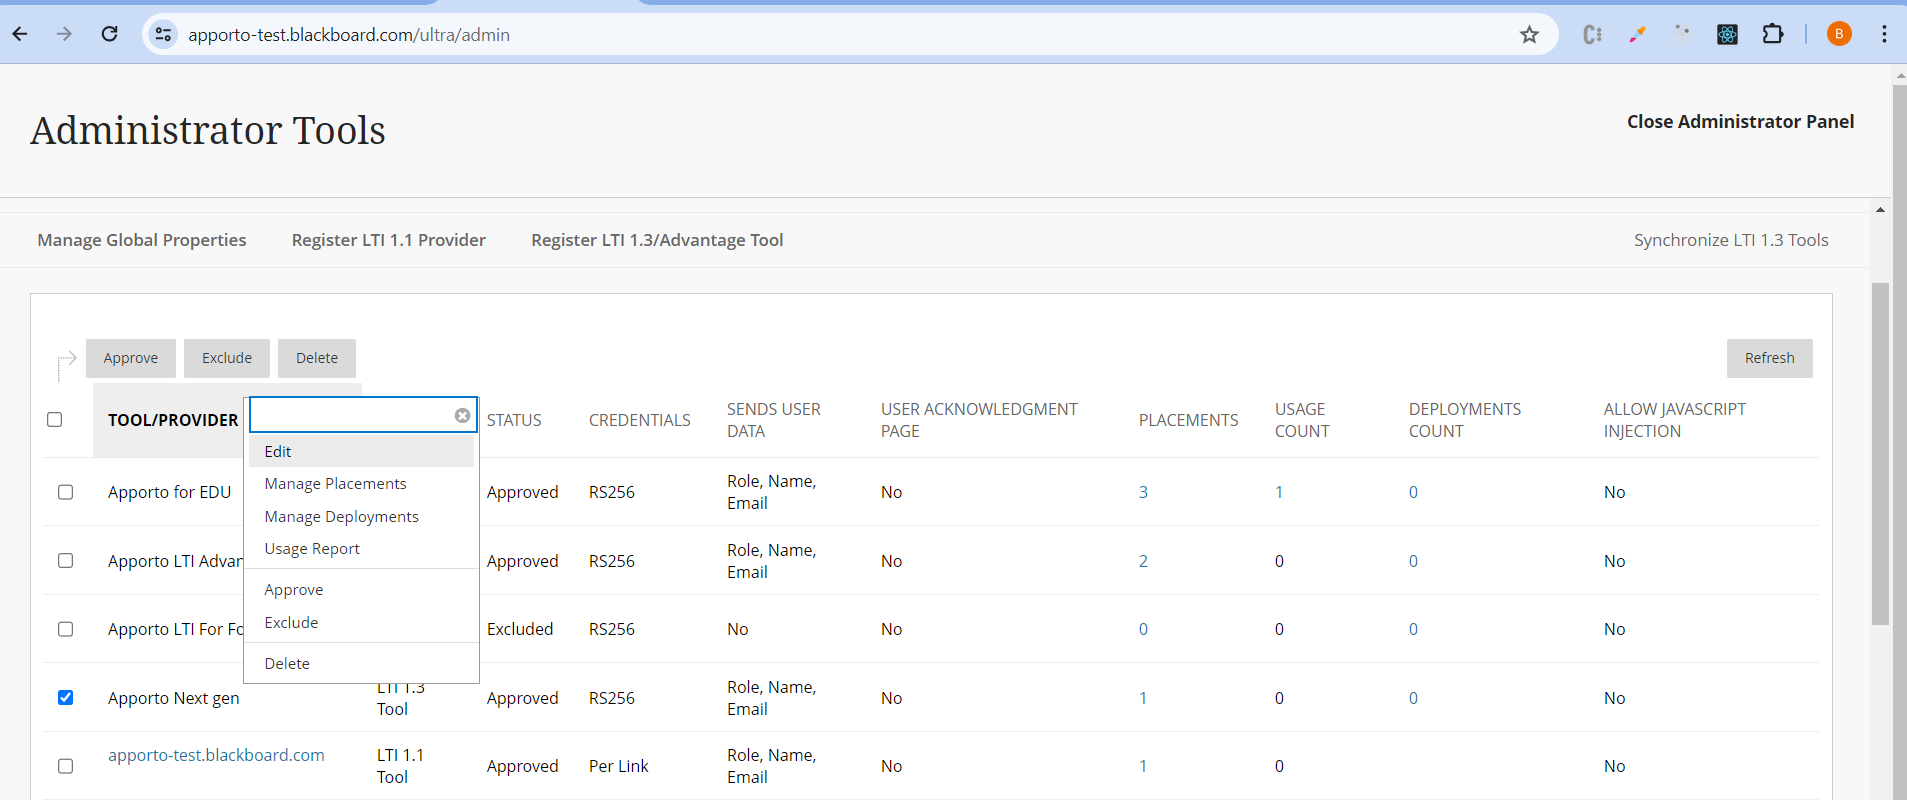
In the Blackboard instance, open Admin from the navigation menu.
-
Under Integrations, select LTI Tool Providers.
-
Click Register LTI 1.3/Advantage Tool.
-
Enter the Client ID (Application ID from Step 2) and click Submit.
-
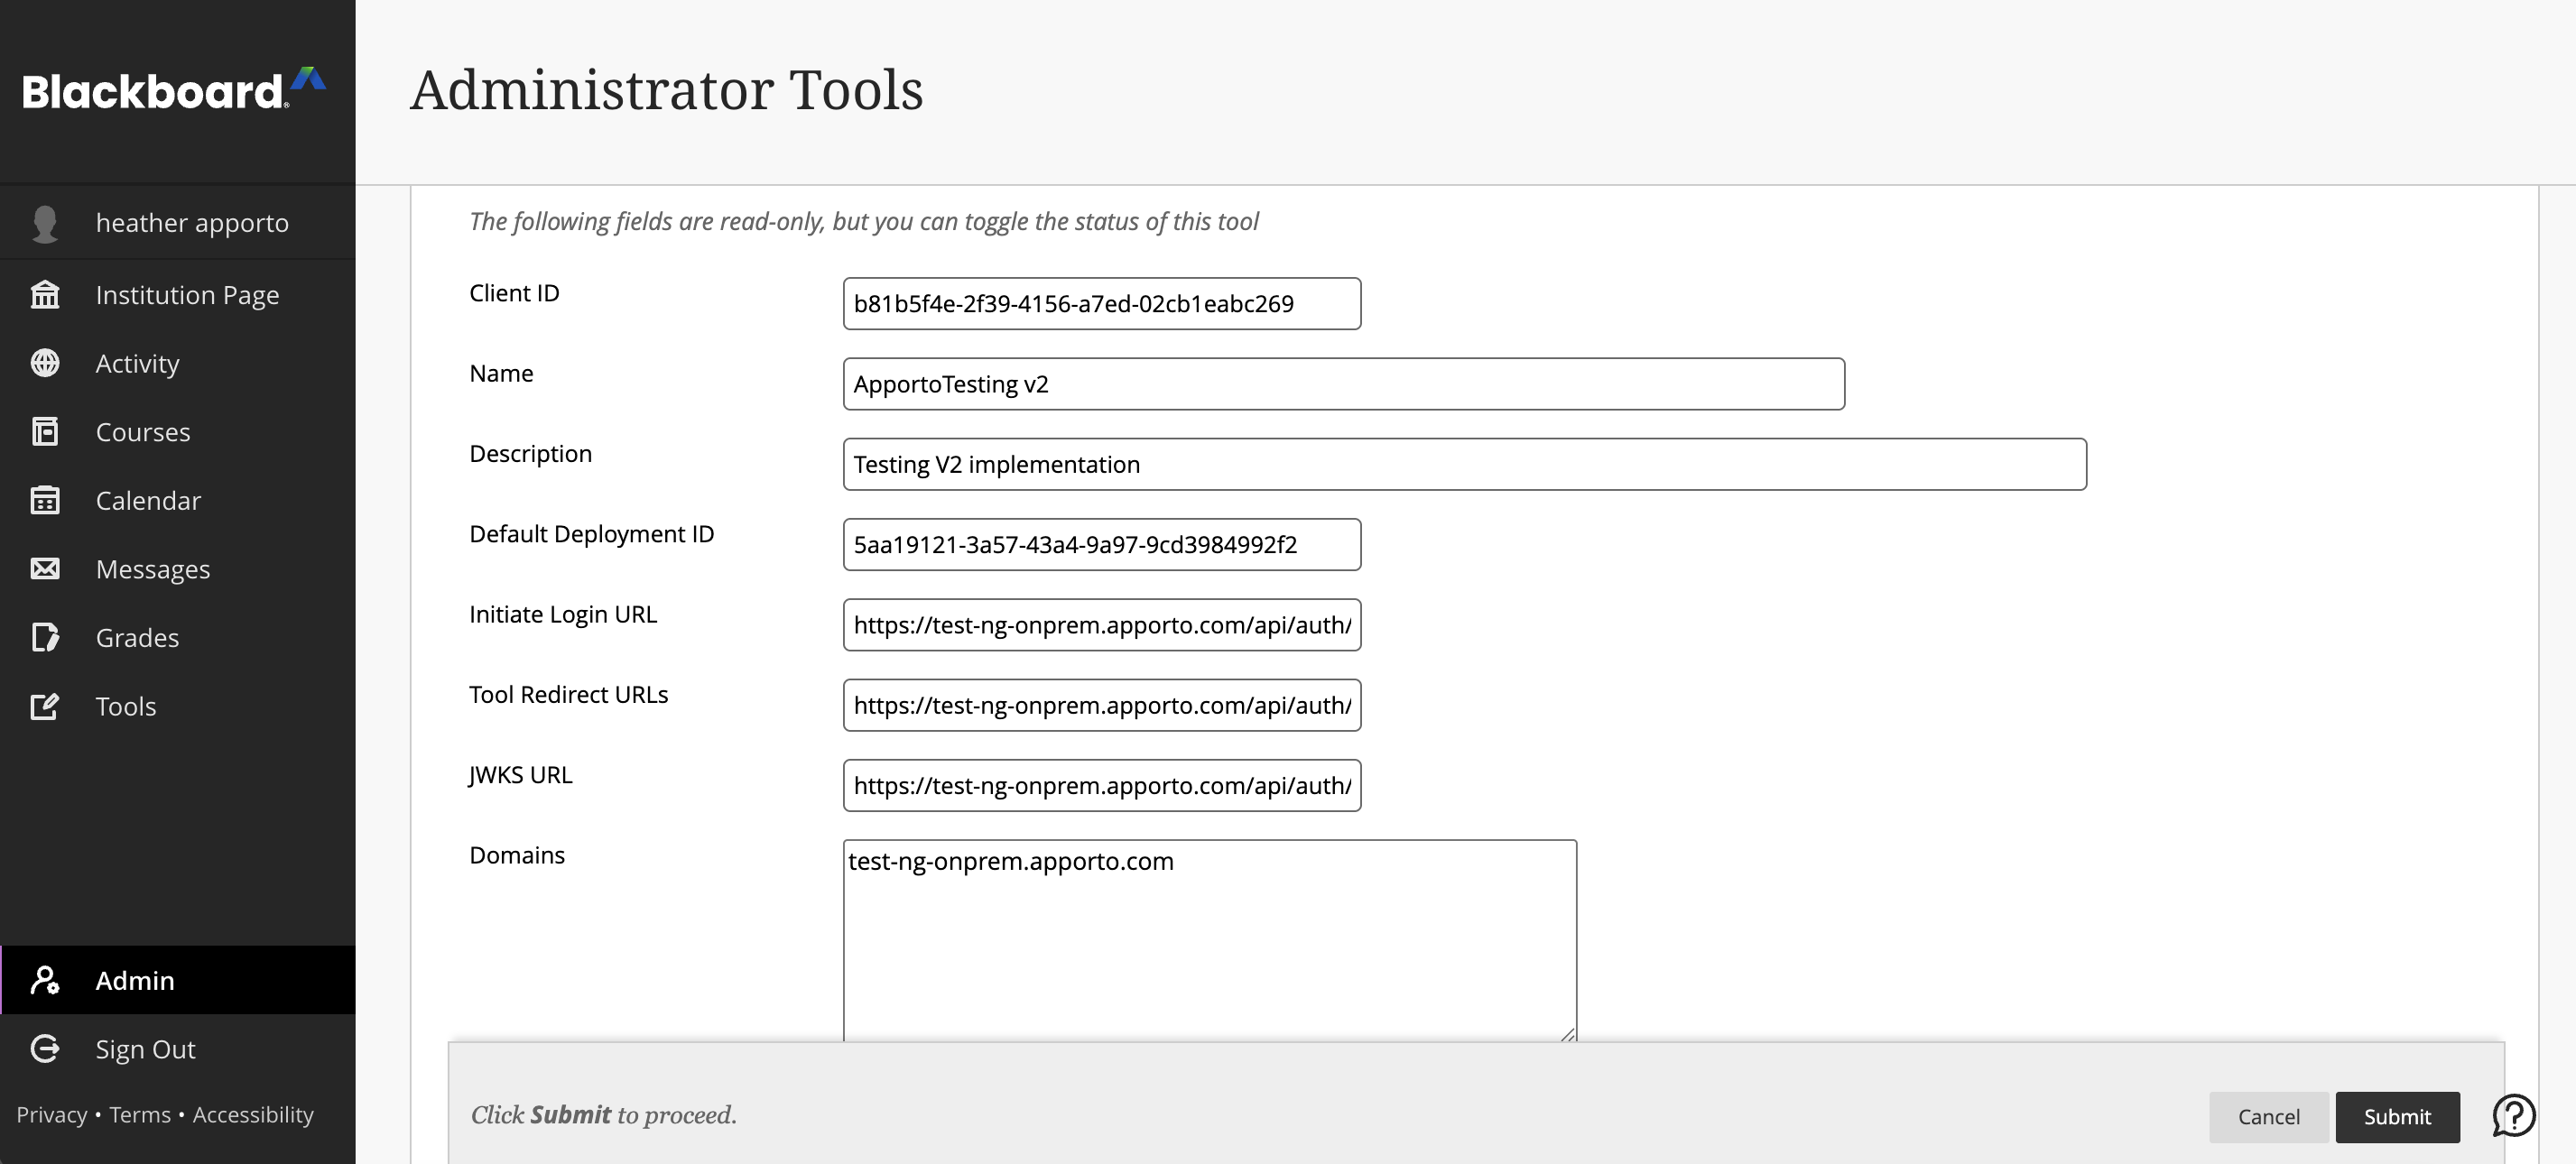
On the tool provider details page, click Edit and confirm the endpoints match your Apporto instance:
-
Initiate Login URL:
https://{instancename}.apporto.com/api/auth/lti/v2/lti/login -
Tool Redirect URL:
https://{instancename}.apporto.com/api/auth/lti/v2/lti/launch -
JWKS URL:
https://{instancename}.apporto.com/api/auth/lti/v2/lti/keys
-
-
Note the Client ID shown on this page. Example:
05c45aaa-3d60-45f6-b00c-9285ccf9065d -
From the tool's dropdown menu, select Manage Placements and create a placement (for example, Apporto NextGen, type Course content tool) so the tool can be added to courses.
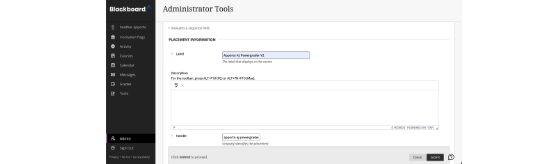
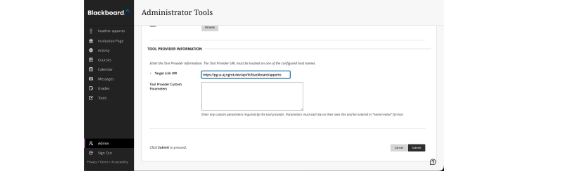
Caution: Blackboard does not support localhost URLs. Use a publicly reachable Apporto instance URL.
Step 4: Create the LTI configuration in Apporto NextGen
-
In NextGen, go to
{Base URL}/system-config. -
Select the LTI CONFIGURATION tab.
-
Click Create New LTI Configuration.
-
Complete the LTI configuration form using the values below.
|
Field |
Value / Guidance |
|---|---|
|
LTI Type |
Blackboard LTI |
|
LTI Course Type |
Set as per need:
|
|
LTI Base URL |
Your Blackboard instance URL.
|
|
Auth Login URL |
|
|
Auth Token URL |
|
|
Client ID and API Client ID |
The Blackboard Client ID from Step 3.
|
|
Client Secret and API Client Secret |
Provided by the developer team. |
|
OIDC Login Redirect |
|
|
API Key |
Provided by the developer team. |
|
App Identifier |
|
Example of a completed Blackboard LTI configuration form:
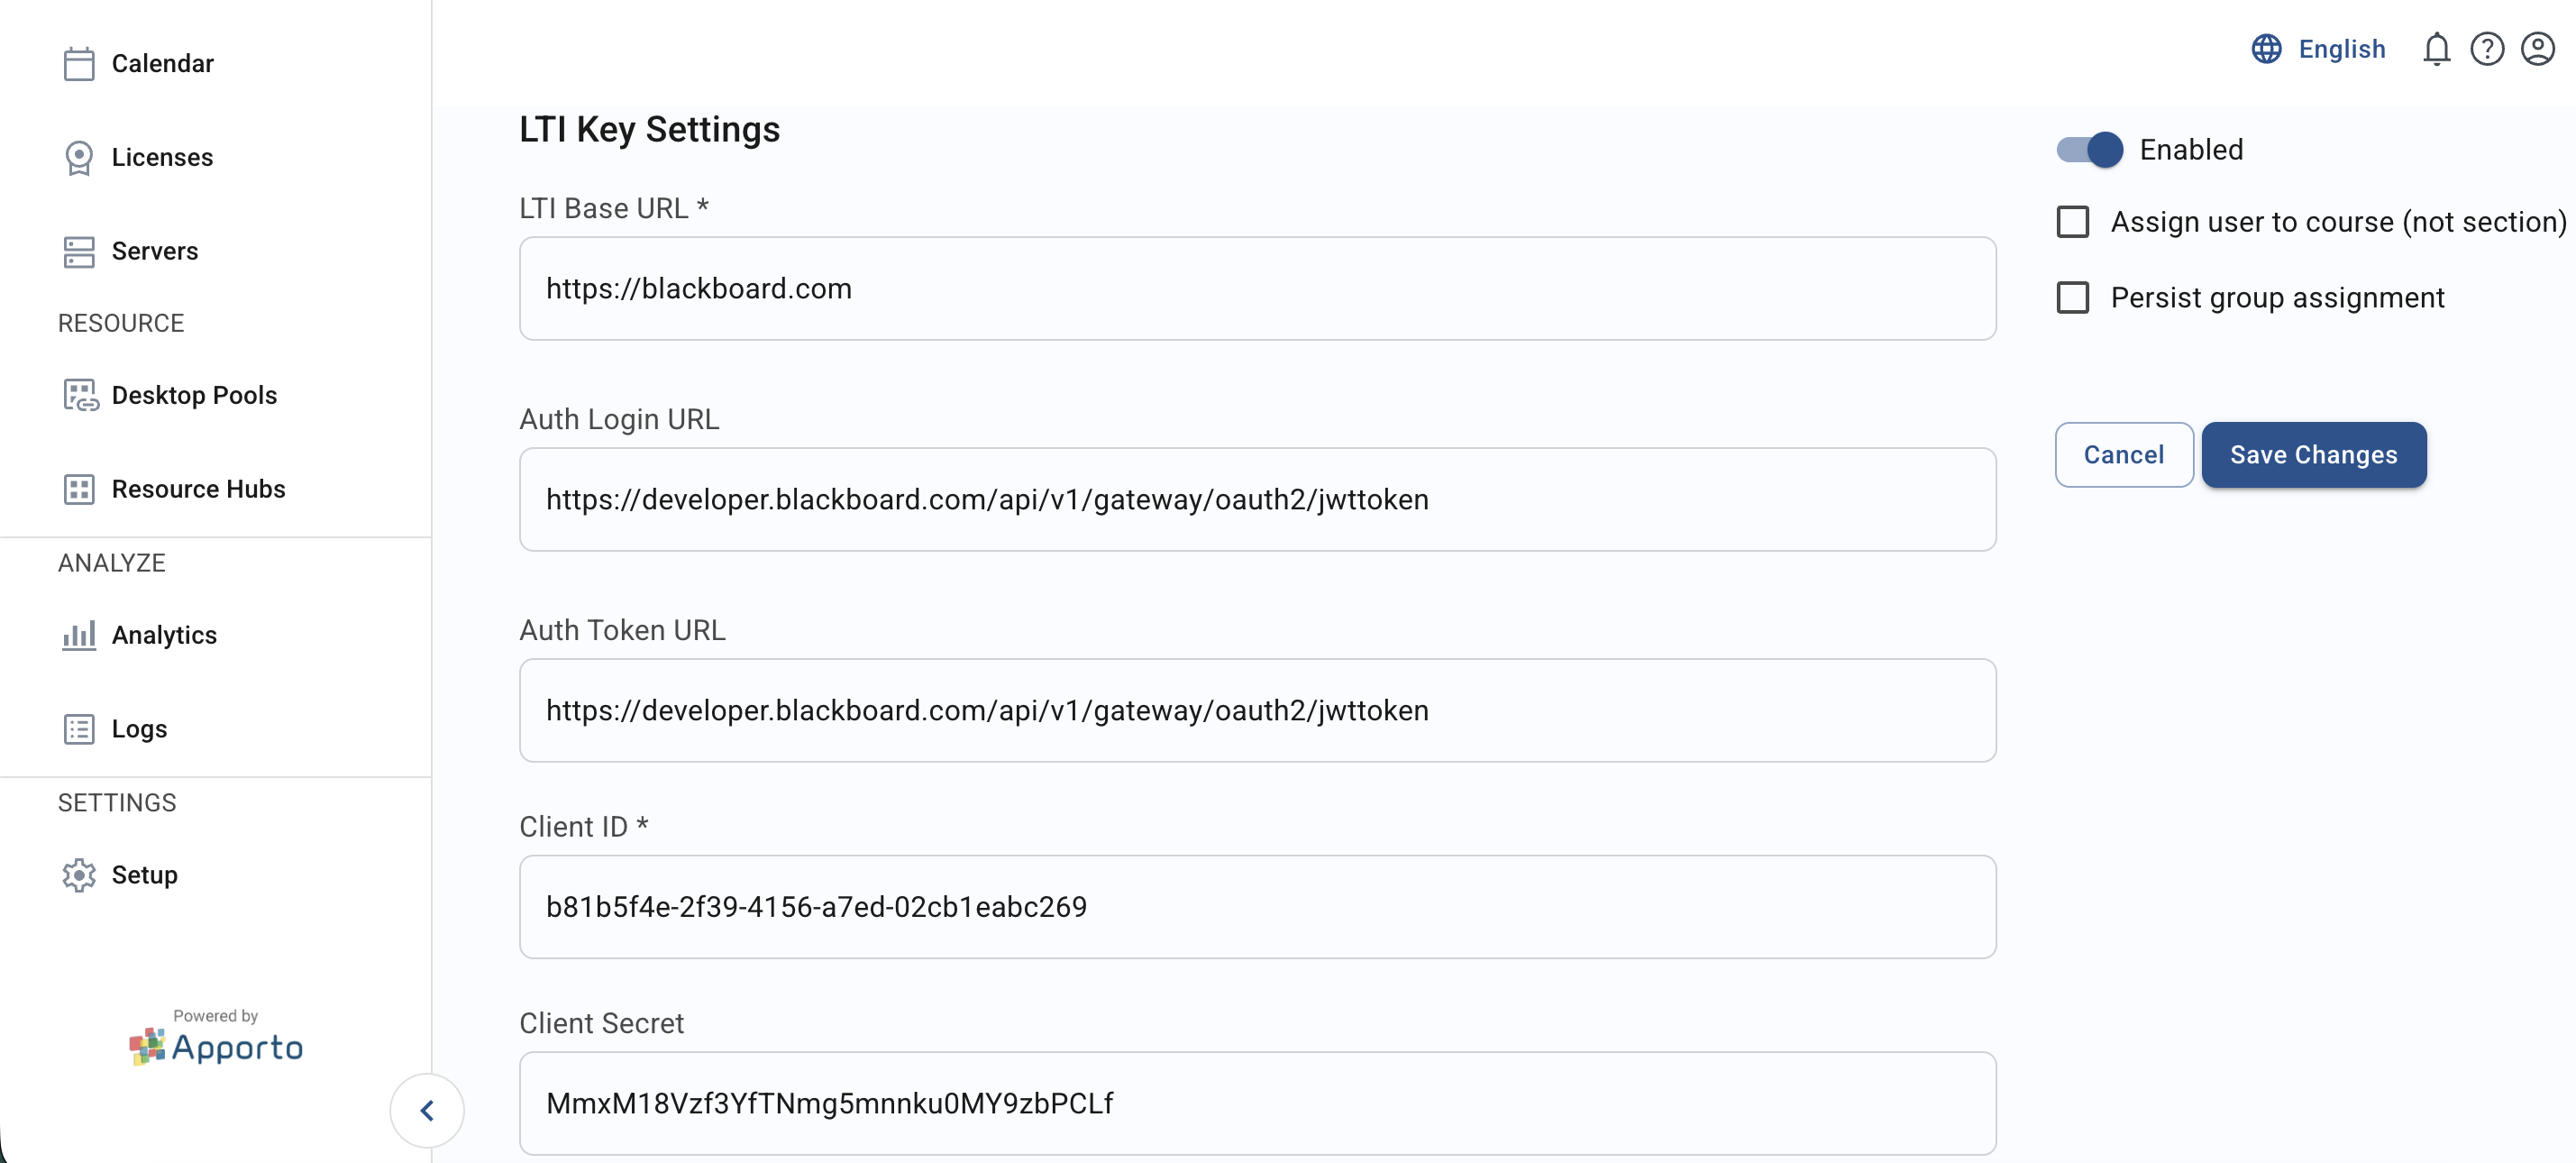
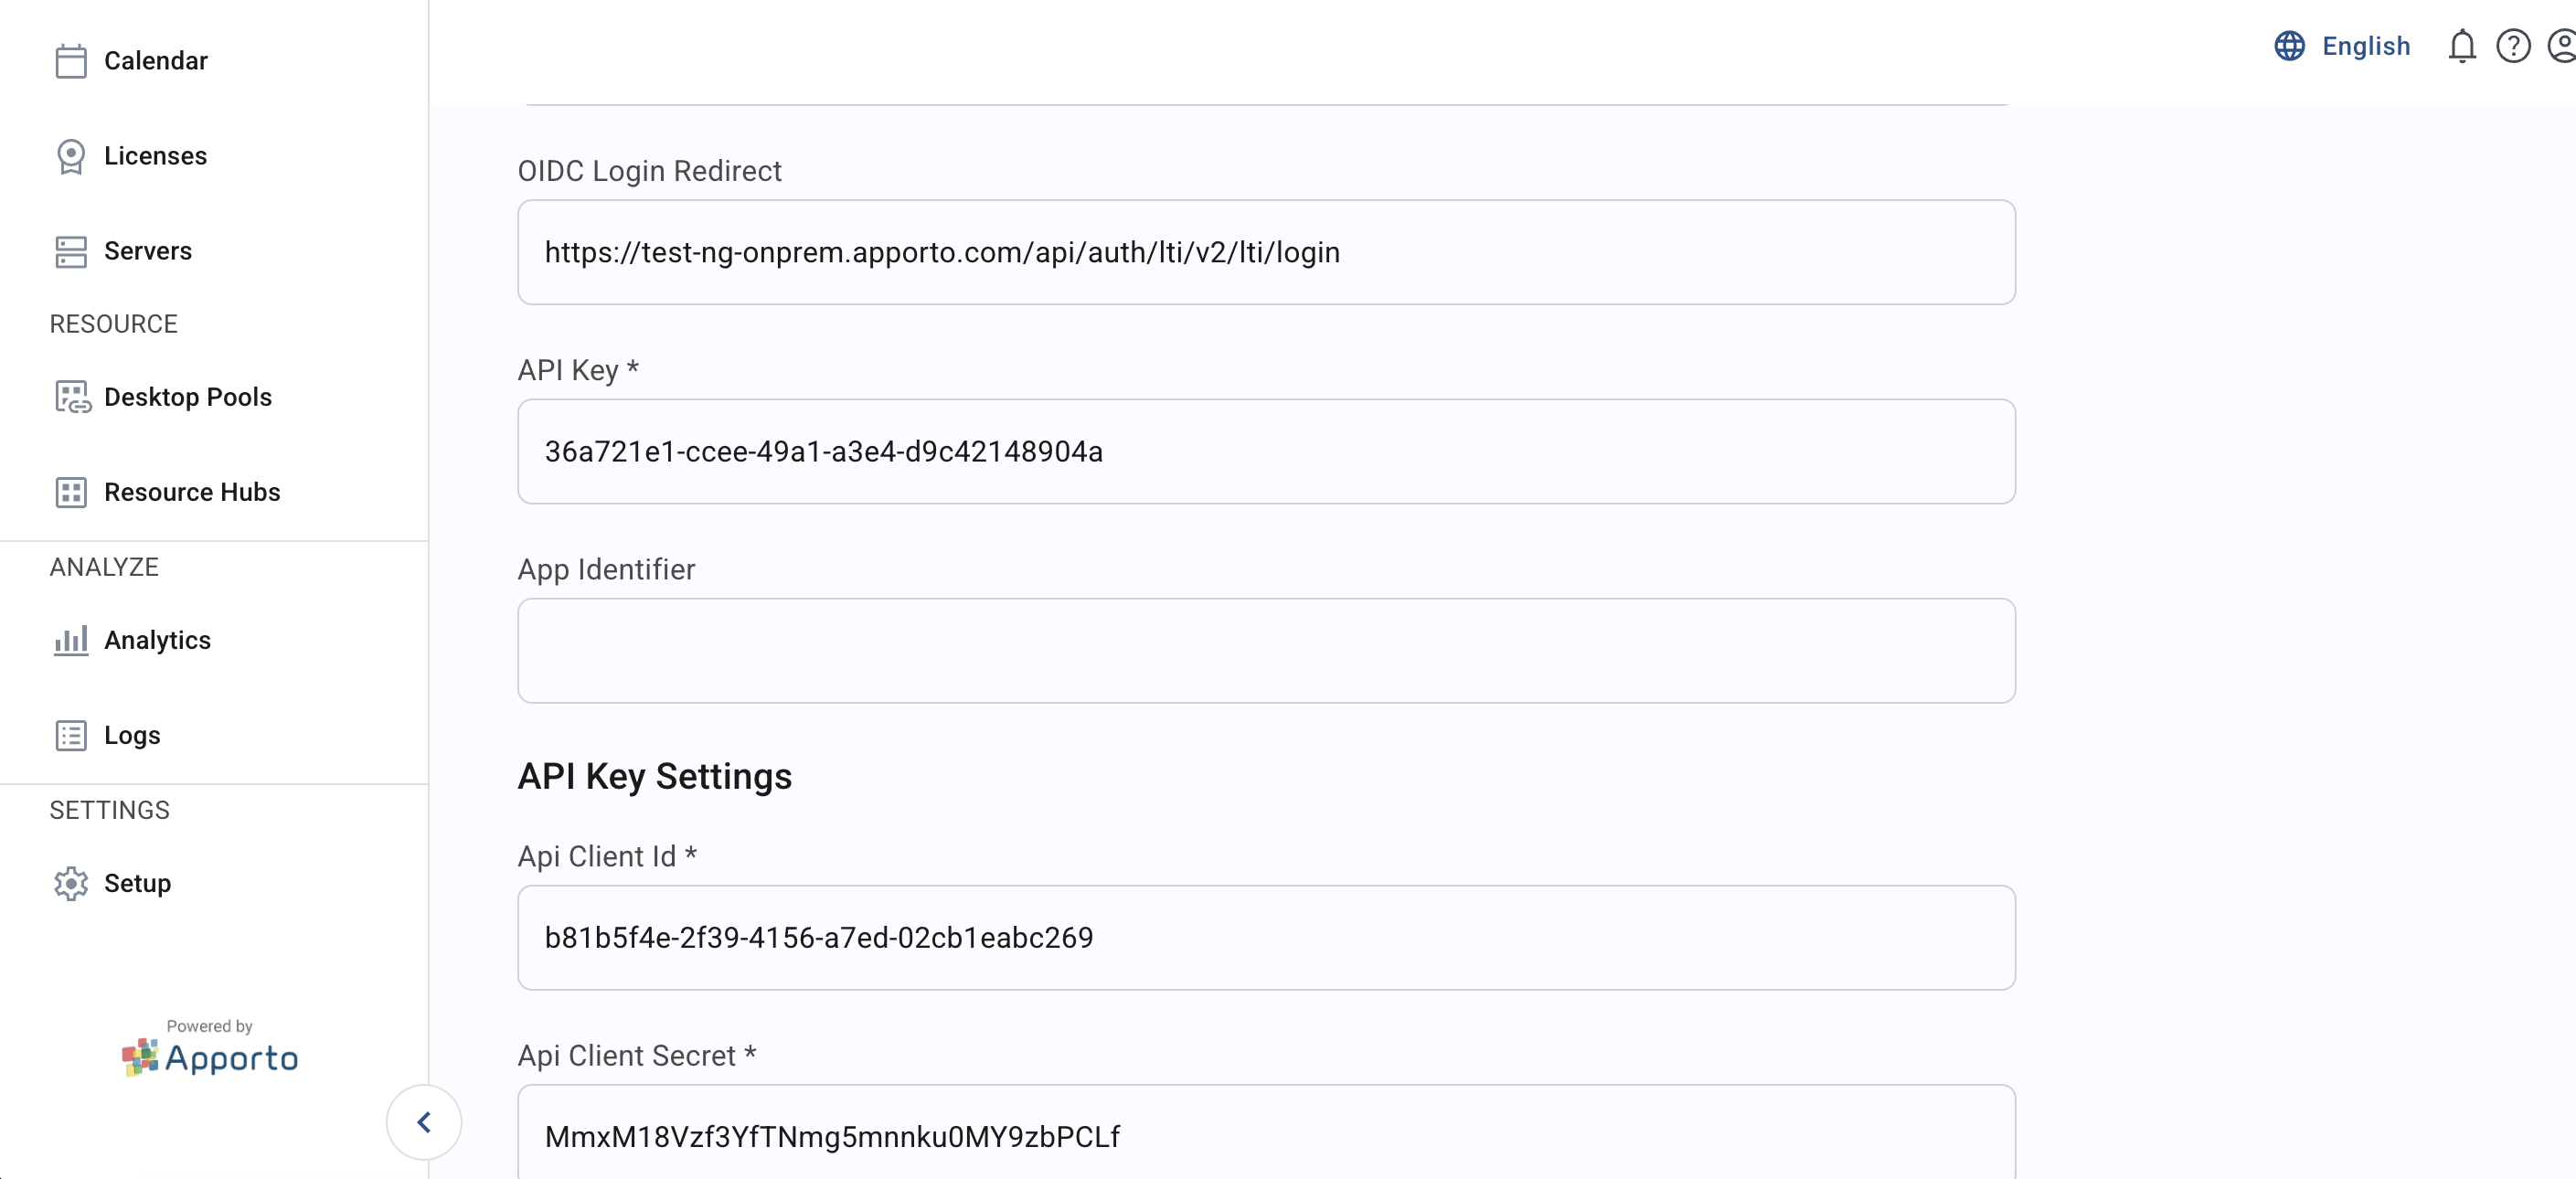
Caution: Blackboard does not support localhost URLs. Ensure all URLs exactly match the Apporto environment being used.
Step 5: Save the configuration
-
Click Submit to save the LTI configuration.
-
After successful submission, NextGen redirects to
{Base URL}/system-config?tabIndex=5, where the new Blackboard configuration is listed.
Expected result: The Blackboard LTI configuration is saved and ready to be used from Blackboard courses.
Step 6: Add the tool to a Blackboard course
-
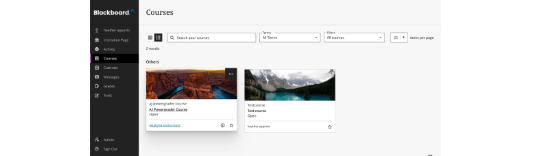
In Blackboard, open the course from which you want to launch Apporto.
-
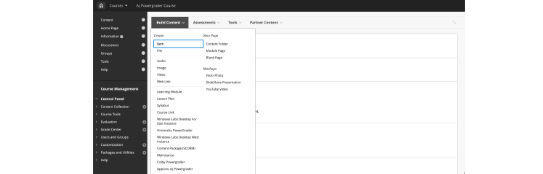
Go to Content and click Build Content.
-
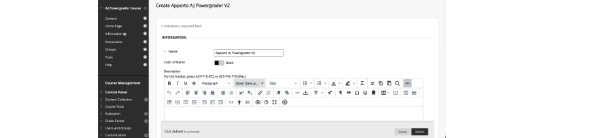
Enter a name for the link and click Submit. The tool is now available in the course.
Step 7: Launch Apporto from Blackboard
-
In the course, click the Apporto NextGen tab / link to get the launch link.
-
Click Open in new window. This redirects to your Apporto instance and creates the user.
-
Launch the desktop assigned to you.
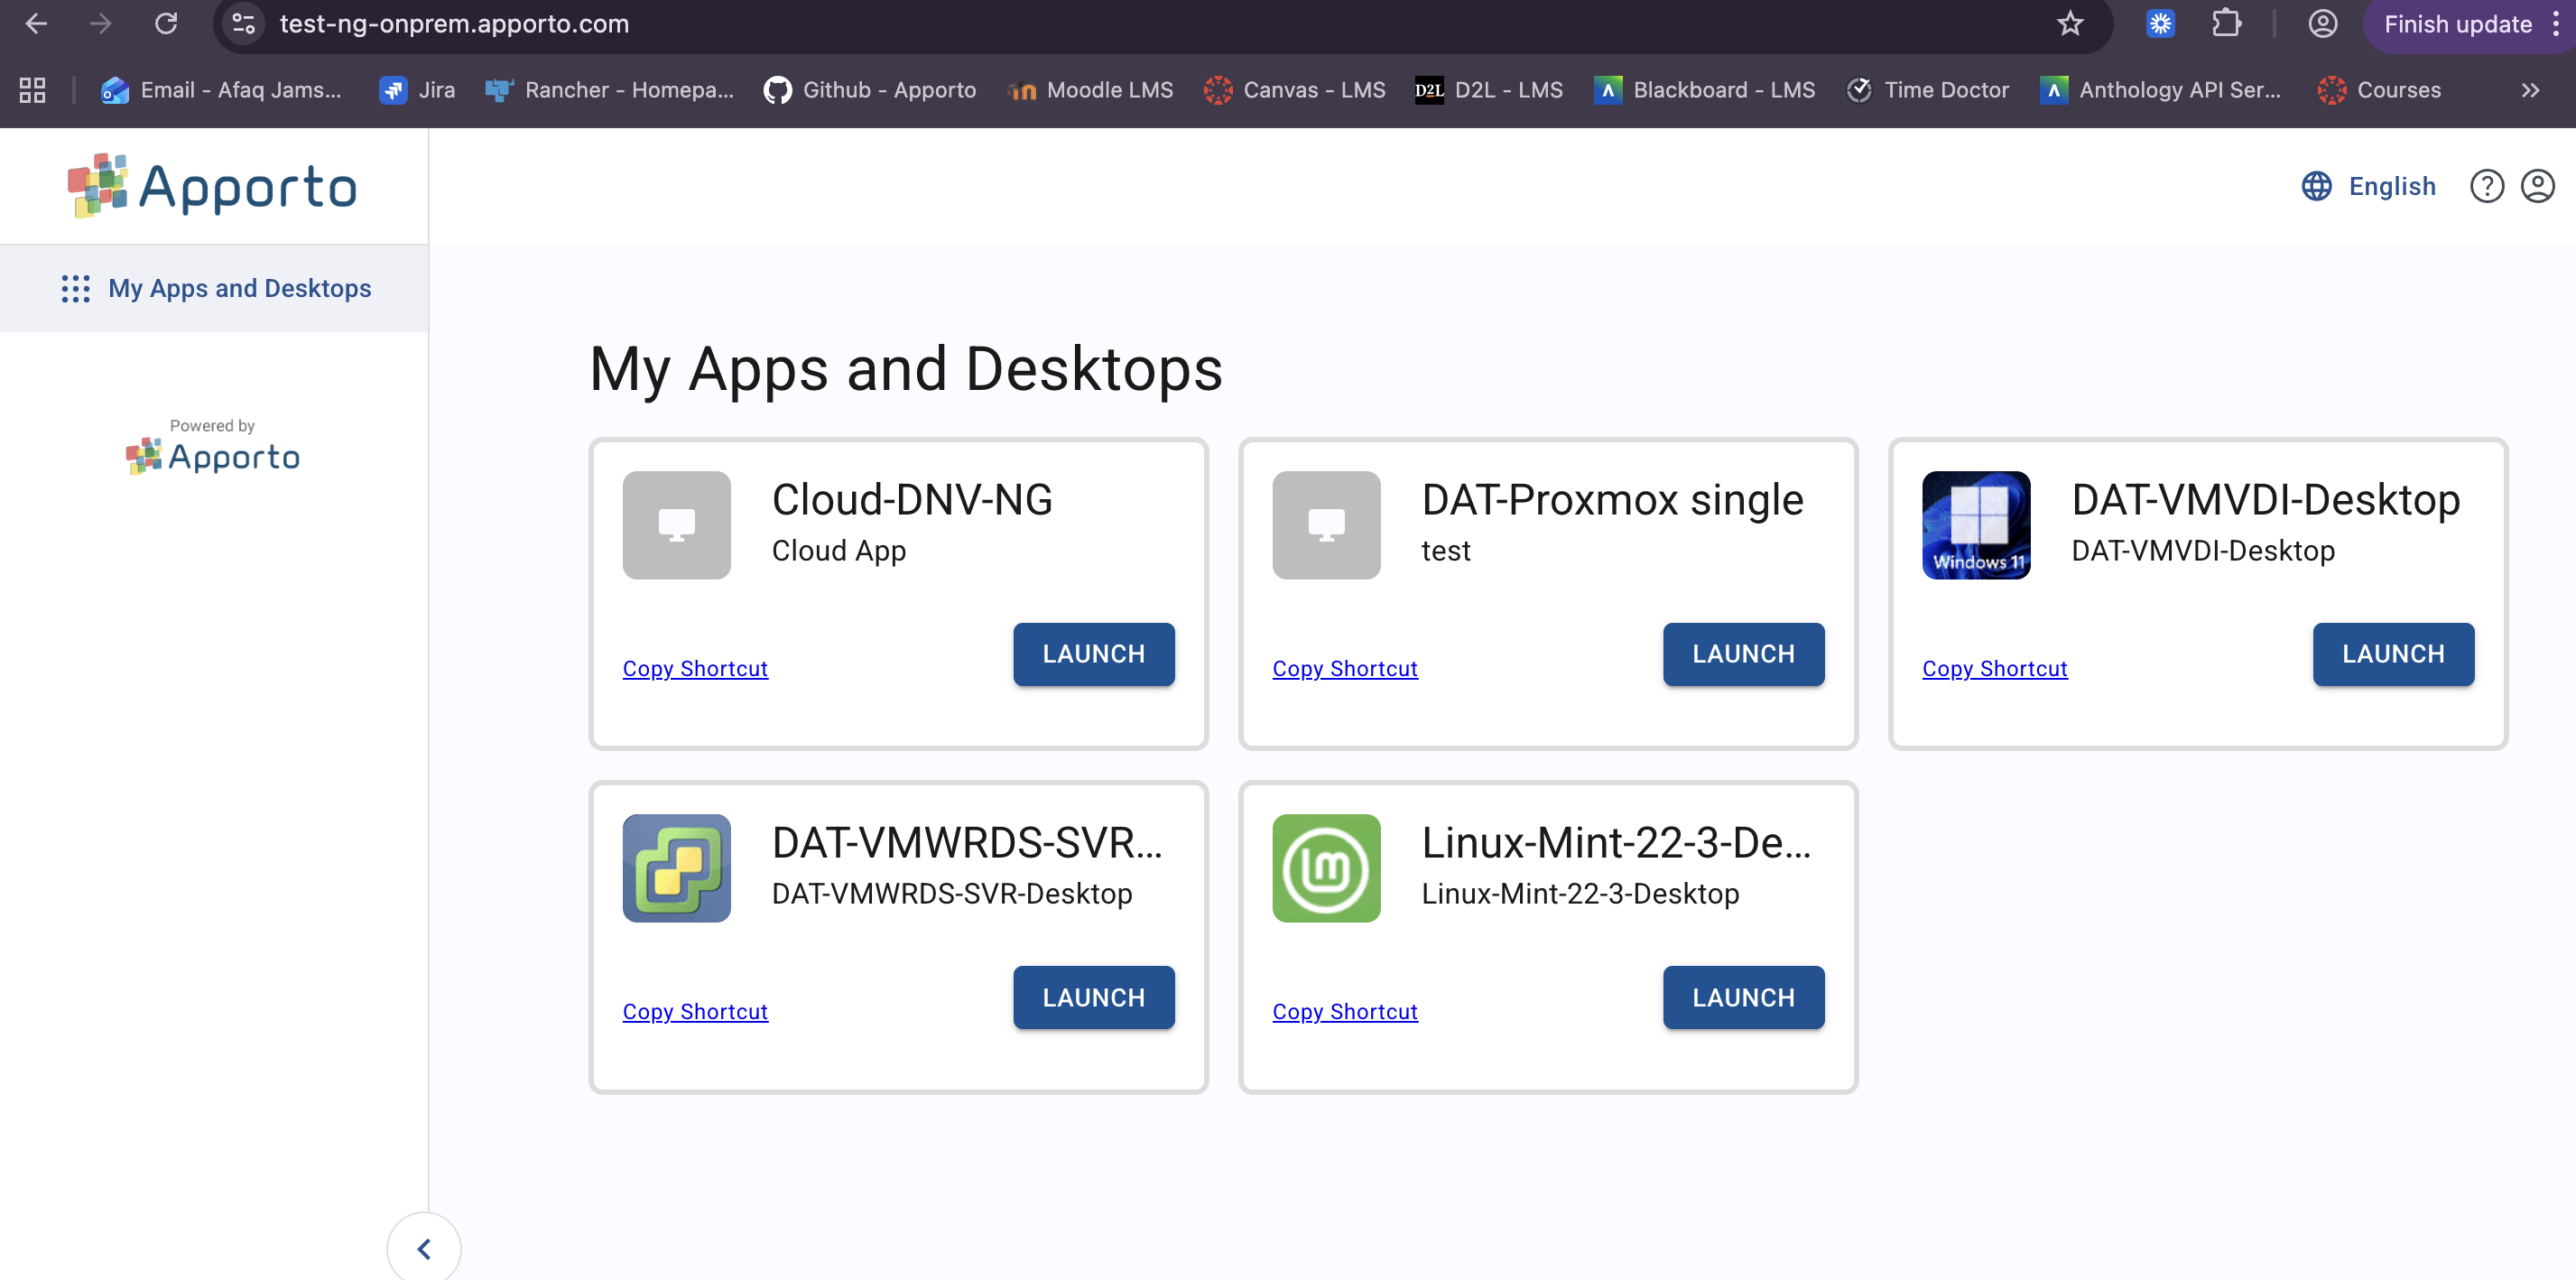
Expected result: The user is provisioned in Apporto NextGen and can launch their assigned desktops.
Troubleshooting
Launch or login fails
-
Confirm the Client ID, Client Secret, API Key, and API Client Secret match the Blackboard Developer Portal application.
-
Verify the Login Initiation, Tool Redirect, and JWKS URLs exactly match the Apporto environment.
-
Verify the Auth Token URL uses the correct Blackboard base URL.
-
Make sure you are not using
localhost.
Tool does not appear in the course
-
Confirm the tool is registered under Admin > LTI Tool Providers and its status is approved/enabled.
-
Confirm a placement was created via Manage Placements.
Course launch does not open Apporto
-
Use Open in new window rather than launching inside the Blackboard frame.
-
Validate that the user has an assigned desktop after provisioning.
Deep linking does not open the expected desktop
-
Confirm the App Identifier is set to
nid. -
Verify that the correct desktop ID is being passed in the custom fields.