

Apporto allows you to create users individually or in bulk. This page explains how to create a single user from the Users page, including setting up the user profile, linking the user to groups, viewing assigned desktops, and configuring desktop features.
To create many users at once, see the article on Importing users .
Create a new user
The article on Viewing users explains how to access the Users page.
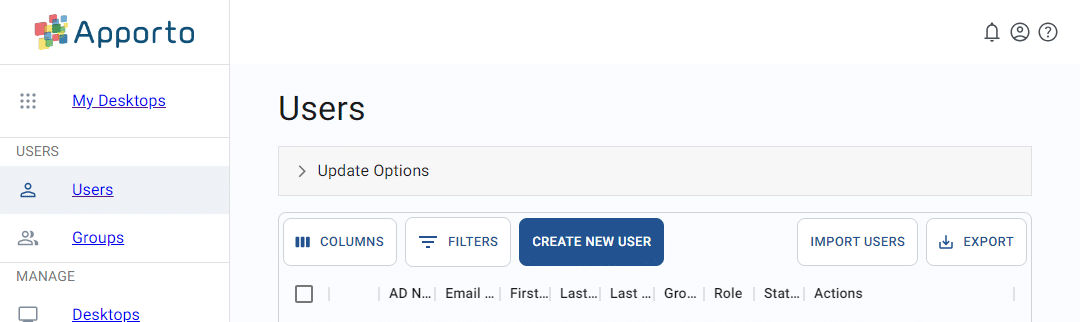
If a user does not already exist in the list, click create new user. The system will direct you to the Create user page. Fill in each relevant section for the user and then click save to submit the form. The Create user page has the following sections, each described below:
-
Profile
-
Linked groups
-
Assigned desktops
-
Desktop features
Create the user profile
The first section in the Create user screen covers basic profile information.
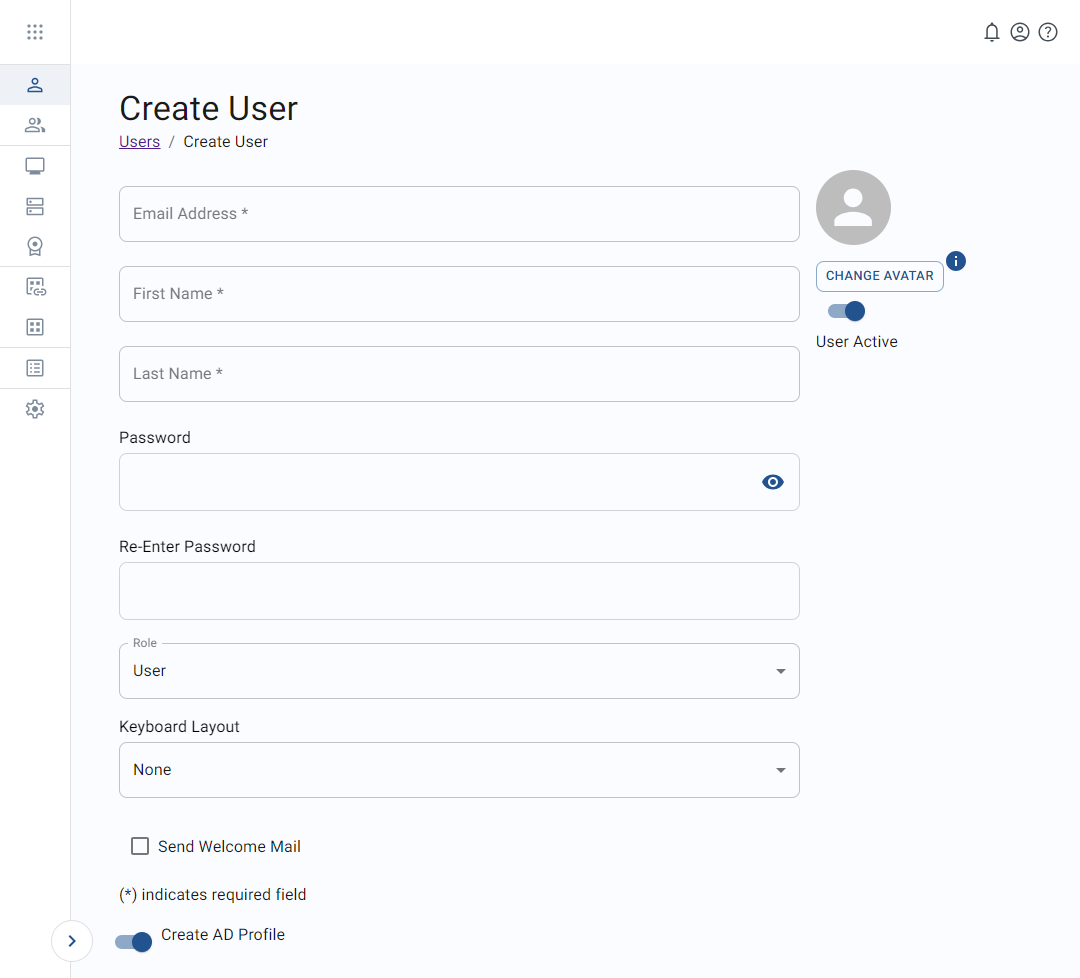
The table below shows the values that make up the user profile.
|
Field |
Datatype |
Required? |
Notes |
|---|---|---|---|
|
Email address |
String |
Yes |
This will serve as the username.
|
|
User active (status) |
Boolean |
No |
By default, the new user account will be active. |
|
Avatar |
Image |
No |
The user icon appears on the Users and User profile pages.
|
|
First name |
String |
Yes |
|
|
Last name |
String |
Yes |
|
|
Password |
String |
No |
Password format requirements:
|
|
Re-enter password |
String |
No |
This must match the value in the “password” field. |
|
Role |
Lookup value |
No |
|
|
Keyboard layout |
Lookup value |
No |
|
Additional features in this section:
-
Change avatar – This allows you to upload a new image for the user.
-
Send welcome mail – This function triggers a welcome email to be sent to the user with a single-use login link.
-
Create AD profile – This allows you to create a Microsoft Active Directory (AD) account for this user.
Link the user to groups
At the bottom of the Create user page, you may include the user in existing user groups.
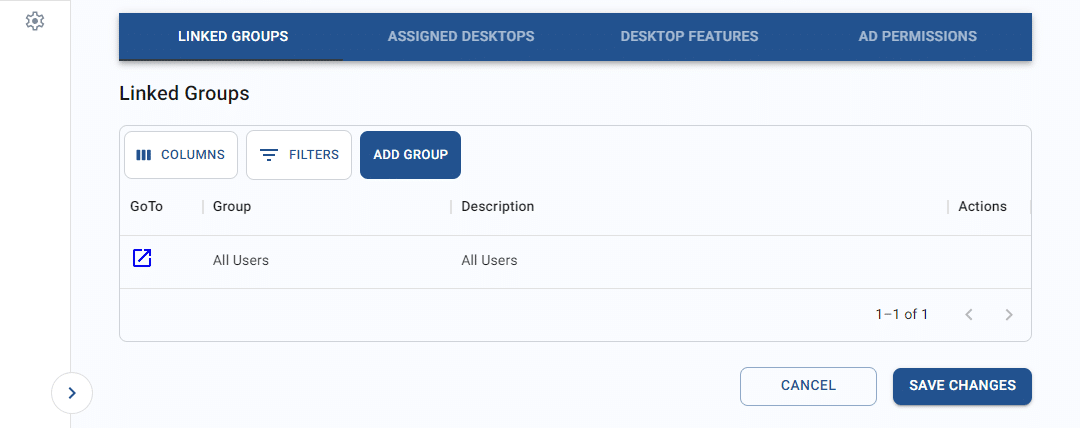
To connect the user to a group, follow the steps below.
-
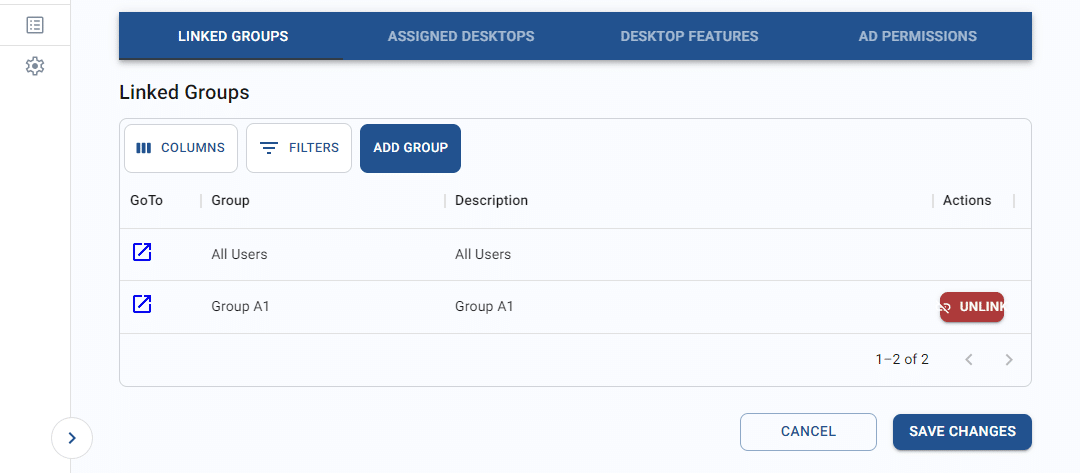
From the “linked groups” tab, click add group.
-
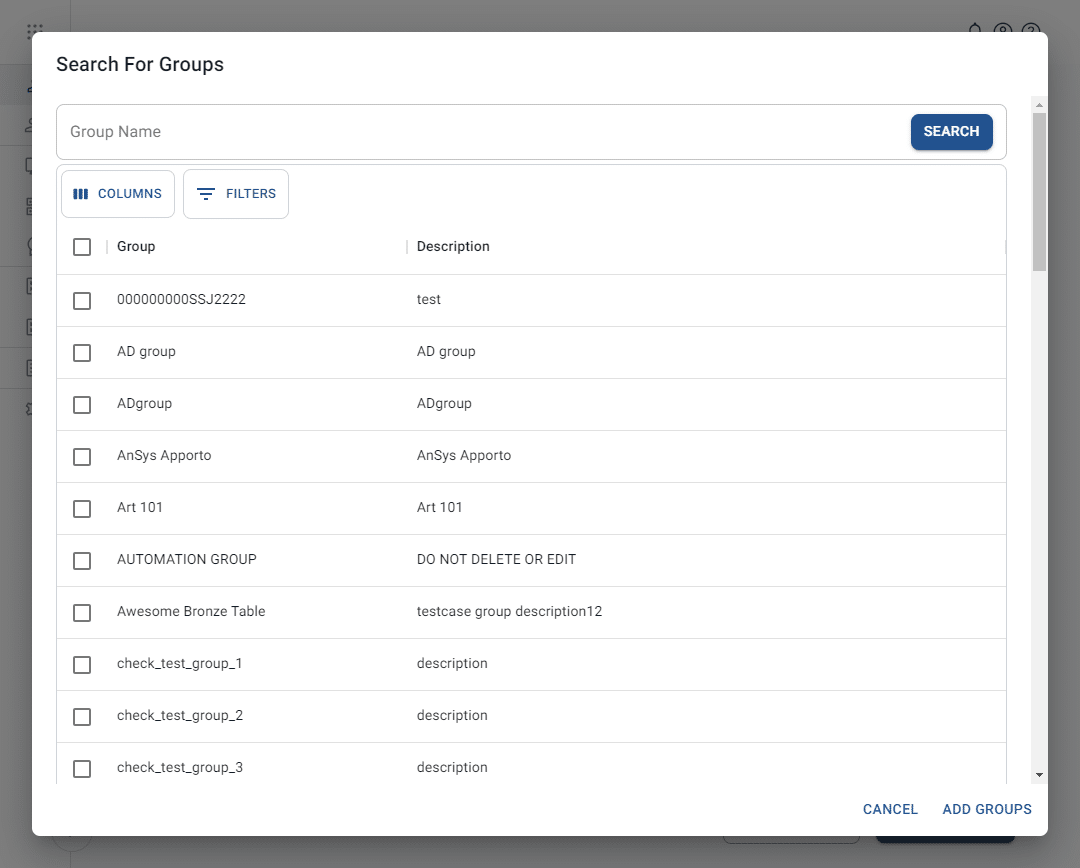
The system will display the Search for groups pop-up. To make it easier to locate the appropriate group, you may adjust the visible columns or filter or search through the list. More details can be found in: Working with lists .
-
From the list, check one or more checkboxes to select groups for the user.
-
Click add groups. The system will close the pop-up.
-
The newly linked groups will display in the tab. Click unlink to remove any unwanted groups.
View assigned desktops
The second tab in the bottom section displays desktops that are assigned to the user. For a new user, this may be empty until groups are assigned or other administrative settings are configured.
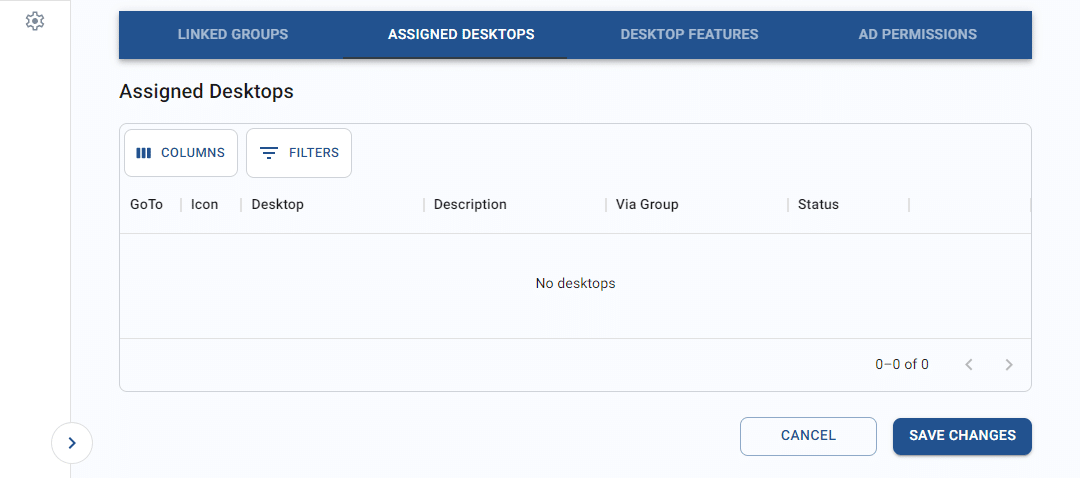
See the article on Editing a user for information on how to view assigned desktops after those other changes have been saved.
Configure desktop features
A number of desktop settings can be configured specifically for the user. When first opening the third tab on the screen, the default settings will display. You may update your view of the list by adjusting columns or filtering contents.
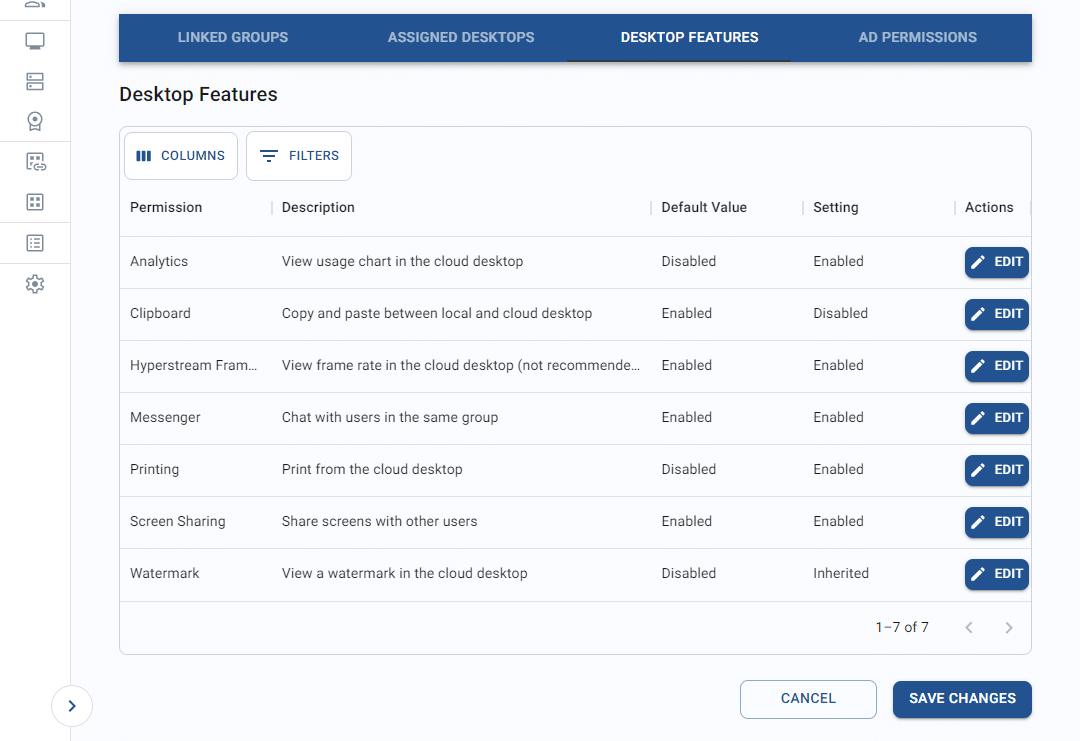
To edit a feature setting, follow the steps below.
-
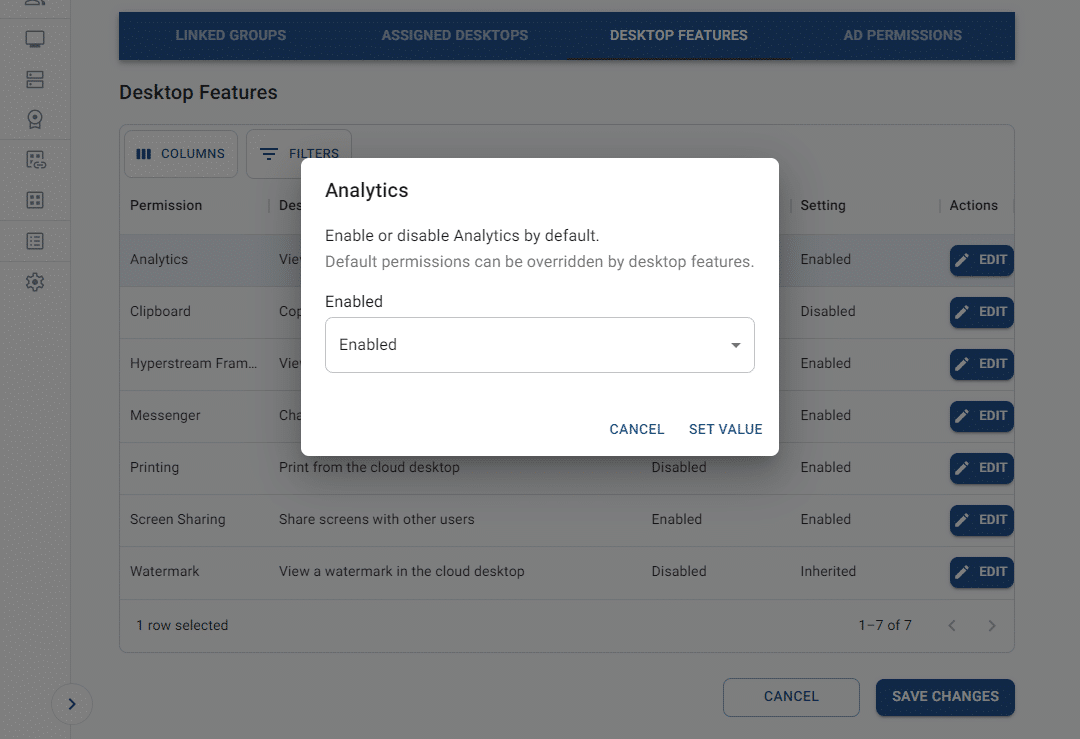
From the list, click edit on a desktop feature to change its setting. This will trigger the edit pop-up.
-
Select a new value from the setting dropdown and click set value to save.
-
The updated setting will display in the settings list.