

Managing roles
In addition to Apporto’s standard administrator and end user roles, customers have the ability to create custom roles.
Use the information in this guide to learn how to:
You may also visit the related article on creating a role.
View the roles list
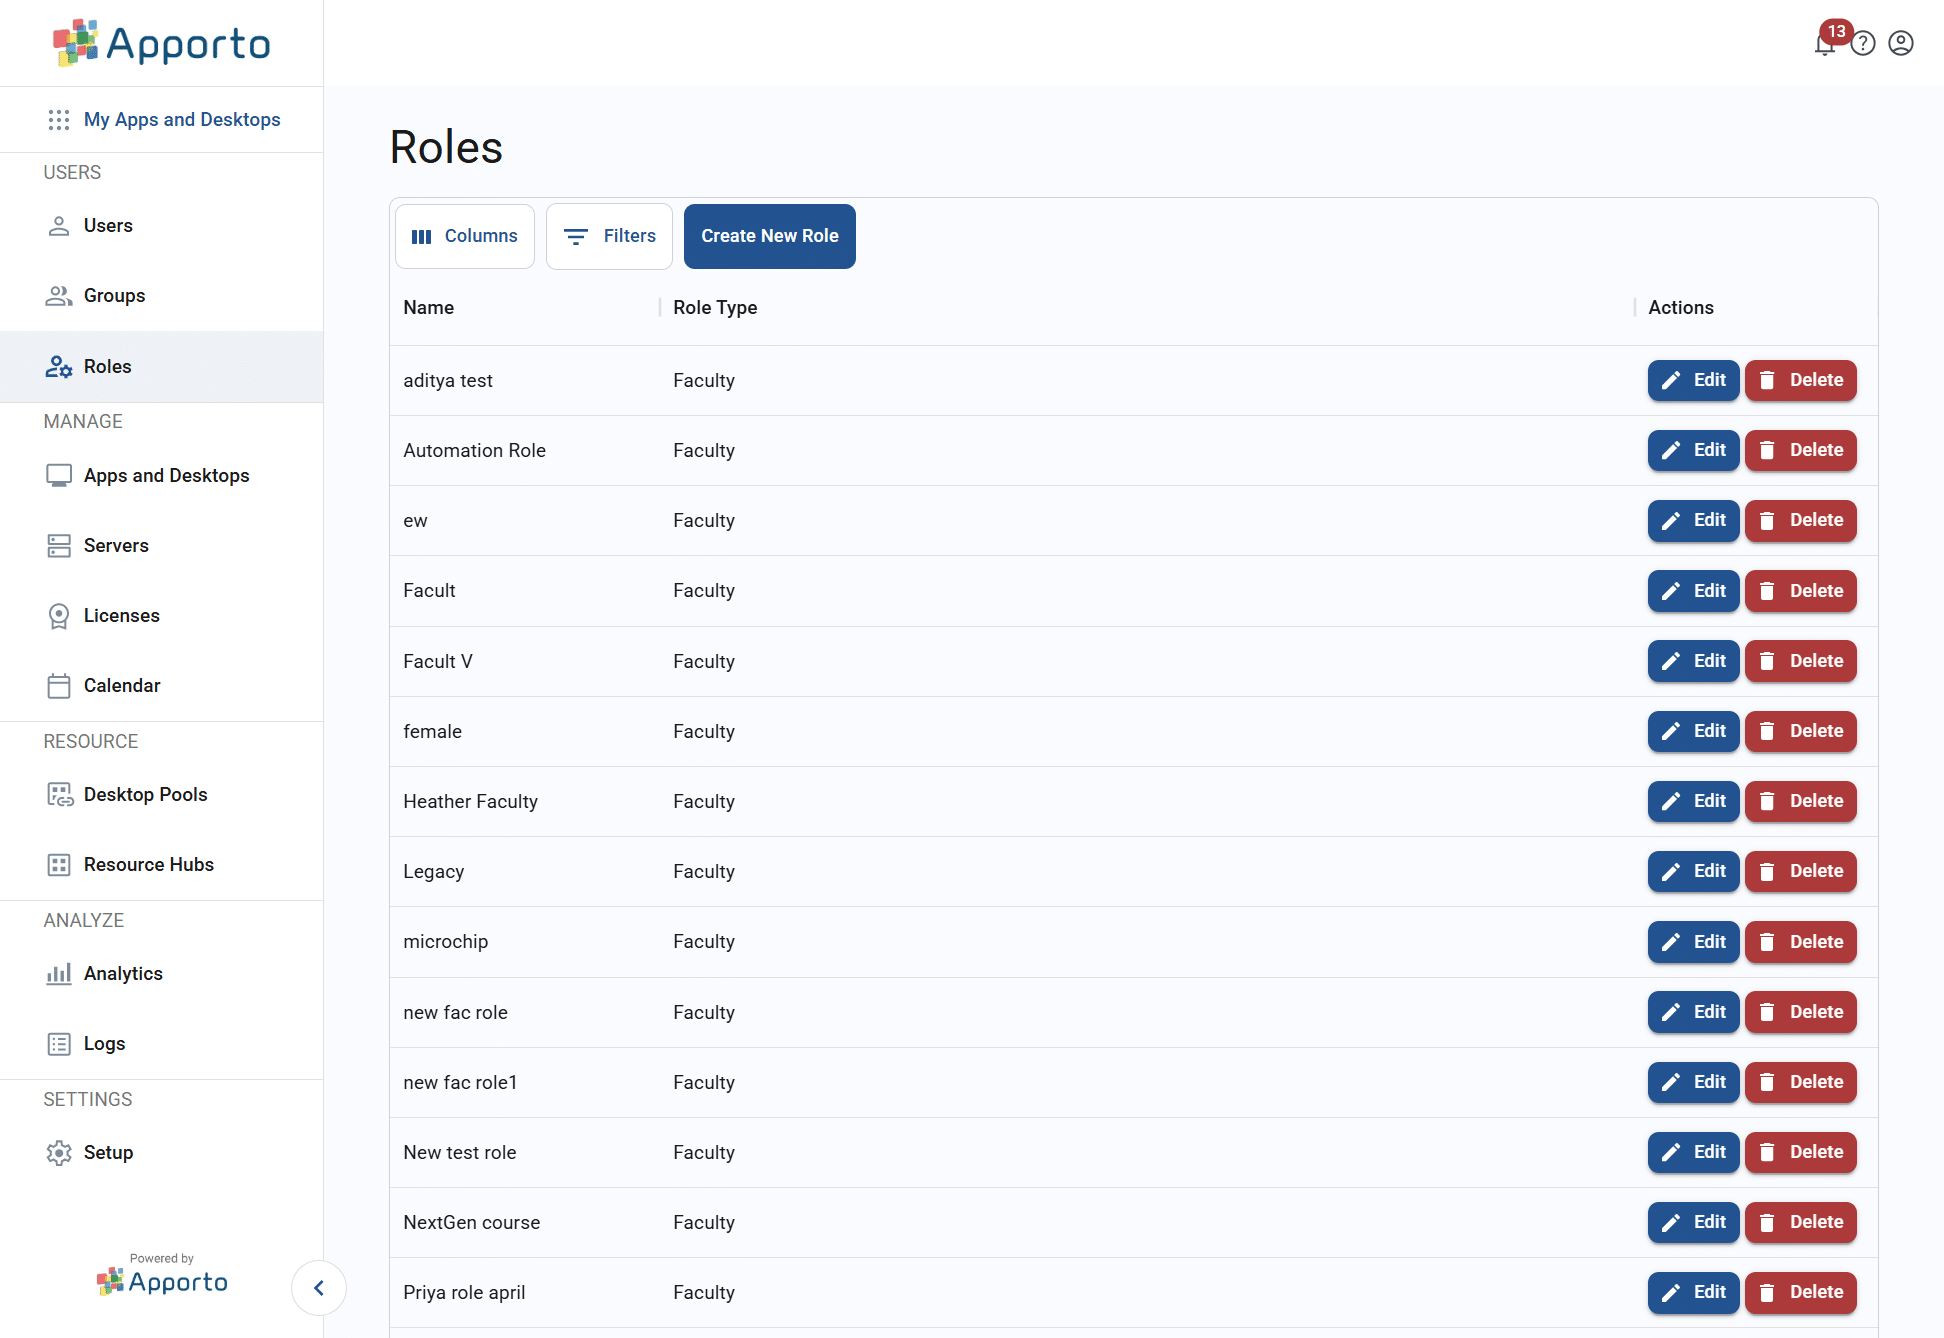
The Roles page shows a list of all the custom roles in your Apporto instance. To access this page, follow the steps below.
-
to the system using your credentials.
-
Click roles or the
 icon in the navigation panel.
To make it easier to locate the appropriate role, you may adjust the visible columns or filter or search through the list. See the article on working with lists for more information.
Edit a role
To edit a role, follow the steps below.
-
Click edit for a role in the list.
-
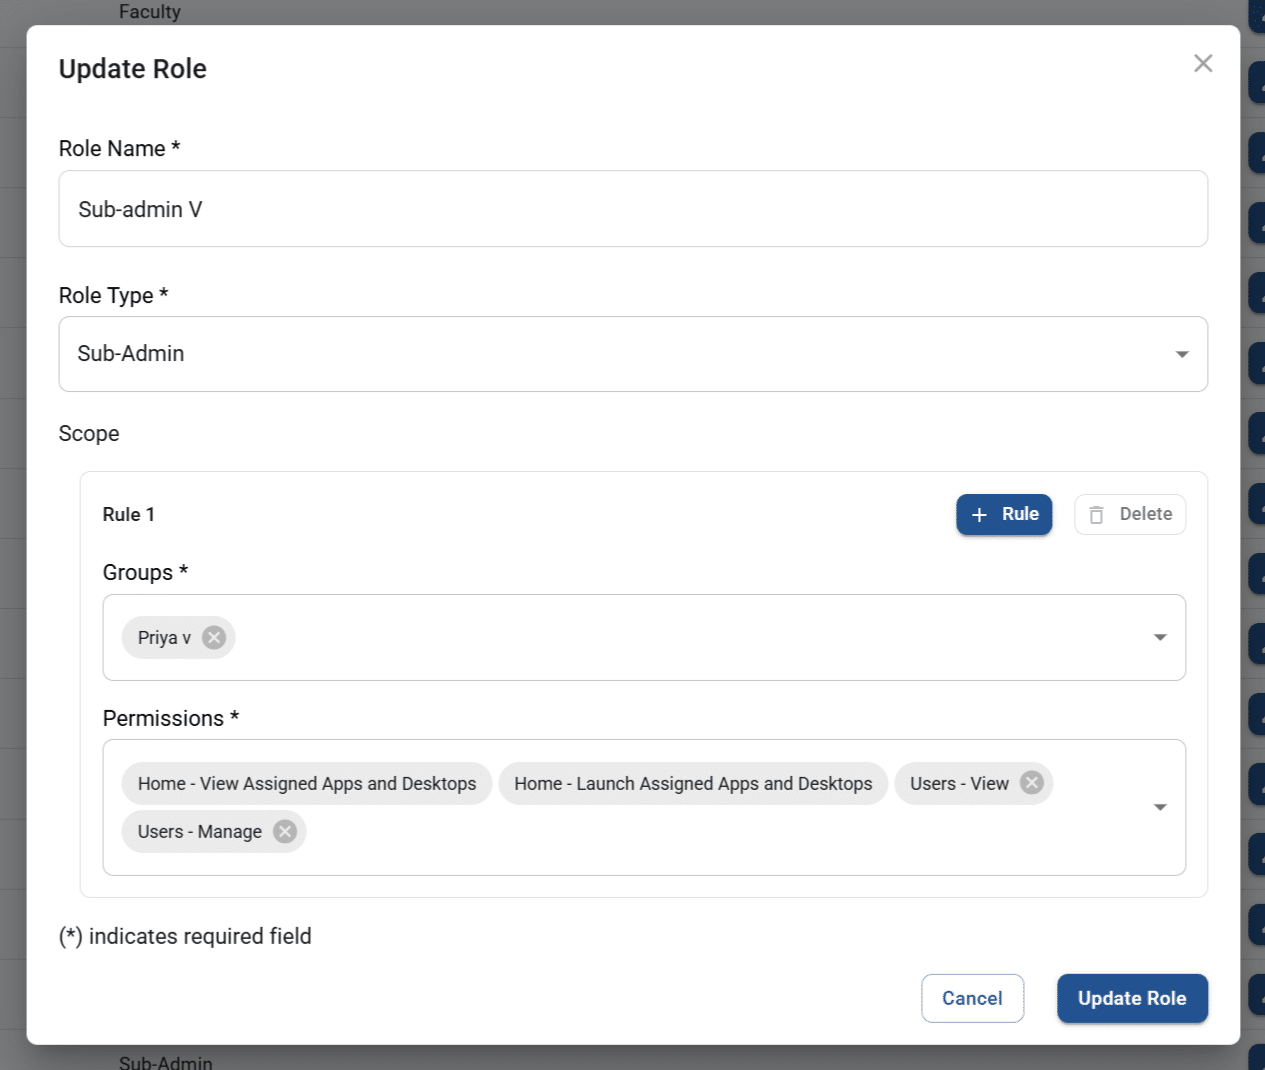
The system will display the Update role pop-up screen.
-
Update any necessary values. The table below shows the values that make up a role.
Field
Datatype
Required?
Notes
Role name
String
Yes
Role type
Lookup value
Yes
-
Faculty
-
Sub-admin
Rule groups
List
Yes
Multi-select list of user groups
Rule permissions
List
Yes
Multi-select list of entity permissions
-
If you need to adjust the permissions for your role, check and uncheck permissions from the list. The full list of permissions is as follows:
-
Analytics – View faculty dashboard
-
Apps and desktops – Manage
-
Apps and desktops – View
-
Audit logs – View
-
Calendar – Manage licenses
-
Calendar – Manage maintenance
-
Calendar – Manage start servers
-
Calendar – View licenses
-
Calendar – View maintenance
-
Calendar – View start servers
-
Groups – Manage
-
Groups – View
-
Home – Launch assigned apps and desktops (present for all users)
-
Home – View assigned apps and desktops (present for all users)
-
Licenses – View
-
Servers – Manage
-
Servers – View
-
Sessions – Join
-
Sessions – Manage – Terminate session
-
Sessions – View
-
Users – Launch as (only available for cloud instances)
-
Users – Manage
-
Users – View
-
Presenter mode – Start
-
Virtual classroom – Start
-
-
If you need to add another rule set (combination of groups and permissions), click the rule button. Repeat as needed.
-
-
Click update role to save your updated settings.
Remove a role
To remove a role, follow the steps below.
-
Click remove on a row in the list.
-
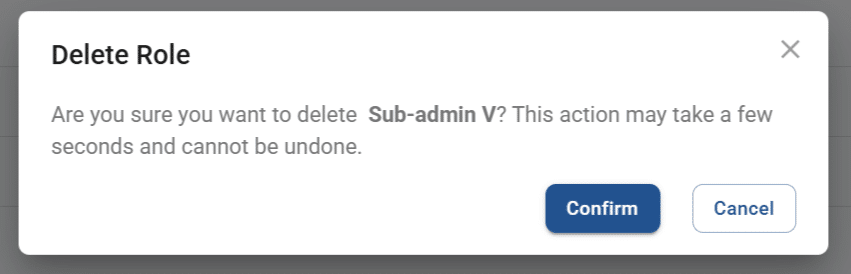
The system will display the Delete role pop-up.
-
Click confirm to complete deletion. The former role record will no longer be visible in the list.
Migrated from the Apporto Help Center: https://www.apporto.com/help-center/managing-roles